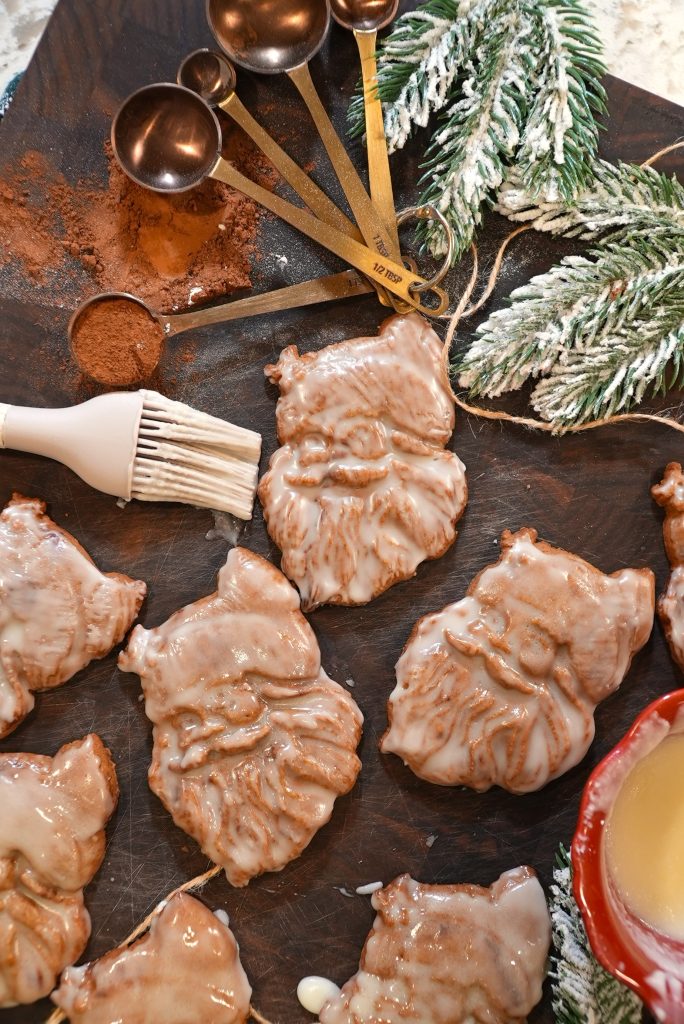
Iced Gingerbread Snoopy Cookies
As many of you know, I’m a sucker for Gingerbread cookies, no matter how they come. This recipe for Iced Gingerbread Snoopy cookies is so fun, easy, delicious, and oh so adorable! If there’s anything I love more than Gingerbread, it’s Snoopy! So it goes without saying, this recipe is a home run! I hope that you enjoy these deliciously spiced and perfectly balanced sweet cookies this holiday season. And with that, I also hope you all have a safe, happy, joy-filled season with the ones you love! Let’s get right into this recipe!
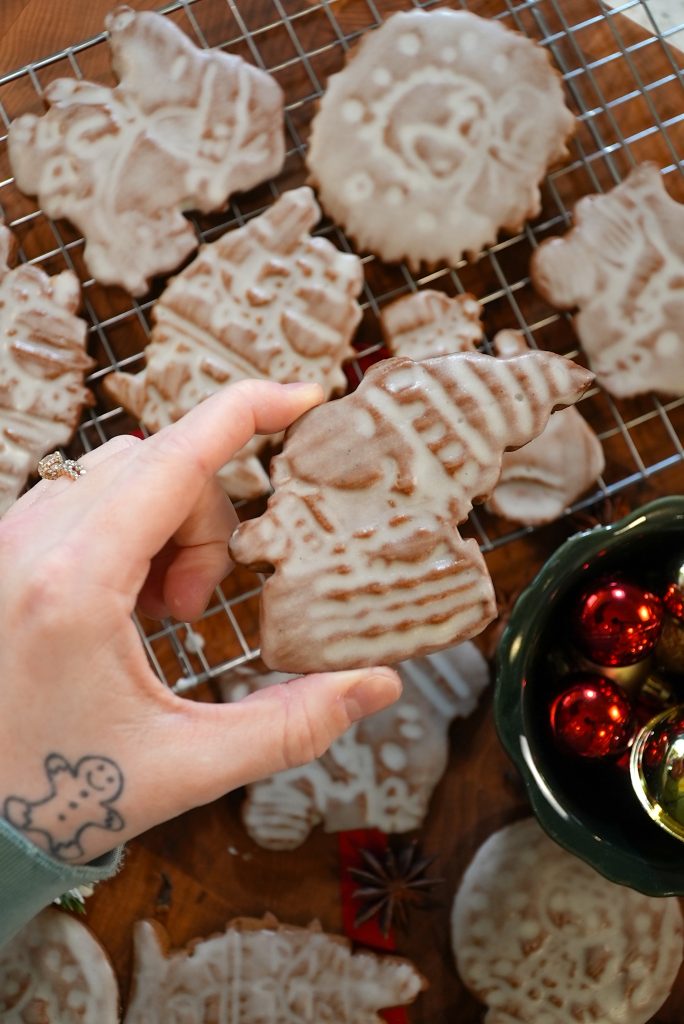
How To Make Iced Gingerbread Snoopy Cookies
These Christmas cookies are so much easier to make than you might think, and they’re a great make-ahead cookie recipe! Let’s break this recipe down!
- Line two cookie sheets with parchment
- Whisk together the flour, cocoa powder, baking soda, cinnamon, cloves, salt + pepper (optional), set aside
- In a separate bowl, beat the butter + brown sugar for about 2 minutes until it looks light and fluffy
- mix in the egg yolk + vanilla
- Scrape the bowl, then add the dry mix and blend until a soft dough forms (it’ll look crumbly at first, then pull together)
- plop the dough onto parchment, sprinkle a tiny bit of flour, add another sheet of parchment on top
- Roll the dough out to about 1/4″ thick. You can make these cookies thinner if you’d like to!
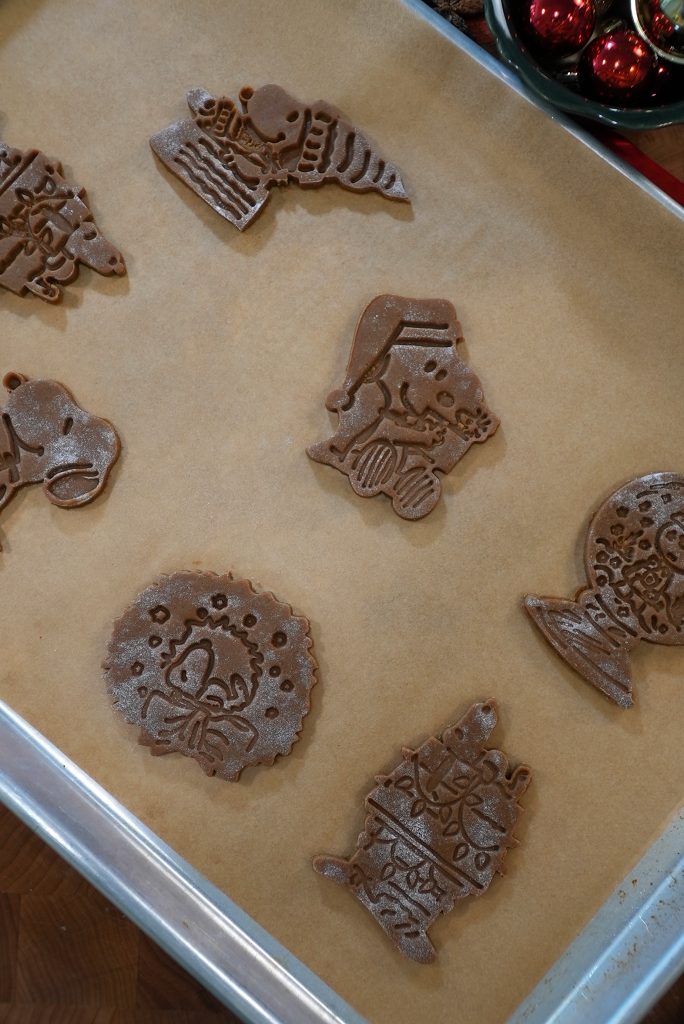
- Slide the whole sheet onto a baking tray and chill for at least 2 hours
- Once chilled, stamp or cut out your Snoopy cookies
- Place them on the lined trays about 1 1/2″ apart
- If the dough sticks to your stamp, dust it with a bit more flour
- bake at 350°F for 8–10 minutes
- Move baked cookies to a cooling rack and let them cool completely before icing
Recipe Tips
- Chill the dough for the full time -This helps the cookies retain their shape, especially with detailed Snoopy stamps. Working with dough that’s too soft can risk our cookies spreading too much!!
- Roll evenly – Uneven dough = uneven baking. Use guides or bands on your rolling pin if you have them :)
- Stamp after chilling – Cold dough creates cleaner impressions and prevents stretching.
- Brush icing sparingly – Too much liquid can cause the stamped details to fade.
- Bake one tray at a time – This keeps the texture consistent.

How to Store Iced Gingerbread Snoopy Cookies
- Room temperature: Store in an airtight container for 1 week. (They make great “make-ahead” cookies!)
- Refrigerator: Not recommended, as humidity can soften the icing.
- Freezer: Freeze undecorated cookies for up to 3 months. Freeze dough (flattened and wrapped) for up to 2 months. Ice after defrosting :)
- After icing: Let the icing fully harden before stacking in a container with parchment between layers!!
Recipe Variations
- Extra spicy: Add ginger, nutmeg, or increase the black pepper.
- Soft gingerbread: Add 1–2 tsp. milk to the dough for a softer bite.
- Crispy gingerbread: Roll slightly thinner and bake 1–2 extra minutes.
- White chocolate drizzle: Instead of brushed icing, drizzle melted white chocolate over the stamped details.
- Color the icing: Add a small drop of gel coloring for festive pastels without overpowering Snoopy’s details.

More Recipes You Might Enjoy!

Jingle Bell Sugar Cookies

Chocolate Jingle Bells

Mini Christmas Sugar Cookies

Chocolate Peppermint Brownies

Eggnog Custard Pie

Snowman Macarons

Gingerbread Macarons

Christmas Tree Brownies
Iced Gingerbread Snoopy Cookies
Join my creative baking community! In depth courses, direct access to me, and more 🤎 Click here to join!
12-15
servings15
minutes8
minutesKeep the screen of your device on.
Ingredients
2 cups all-purpose flour
1/2 Tbsp. unsweetened cocoa powder
1/2 tsp. baking soda
1 tsp. ground cinnamon
2 tsp. ground ginger
1/4 tsp. ground cloves
1/4 tsp. salt
1/4 tsp. black pepper (optional)
7 Tbsp. unsalted butter, room temperature
1/2 cup light brown sugar
1/3 cup molasses
1 egg yolk
1 tsp. vanilla extract
- Icing
2 Tbsp. butter, melted
1 1/4 cups confectioner’s sugar (more as needed)
1/2 tsp. vanilla extract
1 -2Tbsp. water (more as needed)
Directions
- Line two cookie sheets with parchment paper; set aside.
- In a medium-sized bowl, whisk together the dry ingredients: the flour, cocoa powder, baking soda, cinnamon, ginger, cloves, salt, and pepper. Set aside.
- In a large bowl with an electric mixer or in the bowl of a stand mixer fitted with the paddle attachment, cream together the butter and sugar. Let mix for about 2 minutes. until light and creamy.
- Add the egg yolk, molasses, and vanilla. Continue to mix. Scrape down the bottom and sides of the bowl with a silicone spatula, then add in the dry ingredients. Mix to combine. A soft dough should come together. It may look crumbly at first, but it will come together.
- Transfer the dough to a sheet of parchment paper. Dust a bit of flour on top of the dough, then another sheet of parchment. Use a rolling pin to roll the dough out between two pieces of parchment paper until it’s about 1/4″-18″ of an inch thick. Transfer to a cookie sheet, then let chill for at least 2 hours.
- After 2 hours, preheat the oven to 375°F and use your cookie stamps to cut out as many cookies as you can. Place the cut-out cookies onto the prepared cookie sheets fitted with parchment paper about 1 1/2″ apart.
- If your dough is sticking to your stamps, dust some more flour on your dough. Bake for 8-10 minutes, then transfer the baked cookies to a cooling rack to cool completely before decorating.
- Icing
- To make the icing, melt the butter in a small dish. Add the remaining ingredients. You may need to adjust the confectioner’s sugar and water amounts slightly to get the consistency just right. The icing should be thin enough for you to brush onto a cookie with a pastry brush, and the icing should barely soak into the cookie but remain a nice layer enough for you to see. Test the consistency out on one cookie before icing all of them.
- Repeat for each cookie and enjoy!
Equipment


Did you make this recipe?
I love seeing what you bake on socials! Just tag @thesqueakymixer