

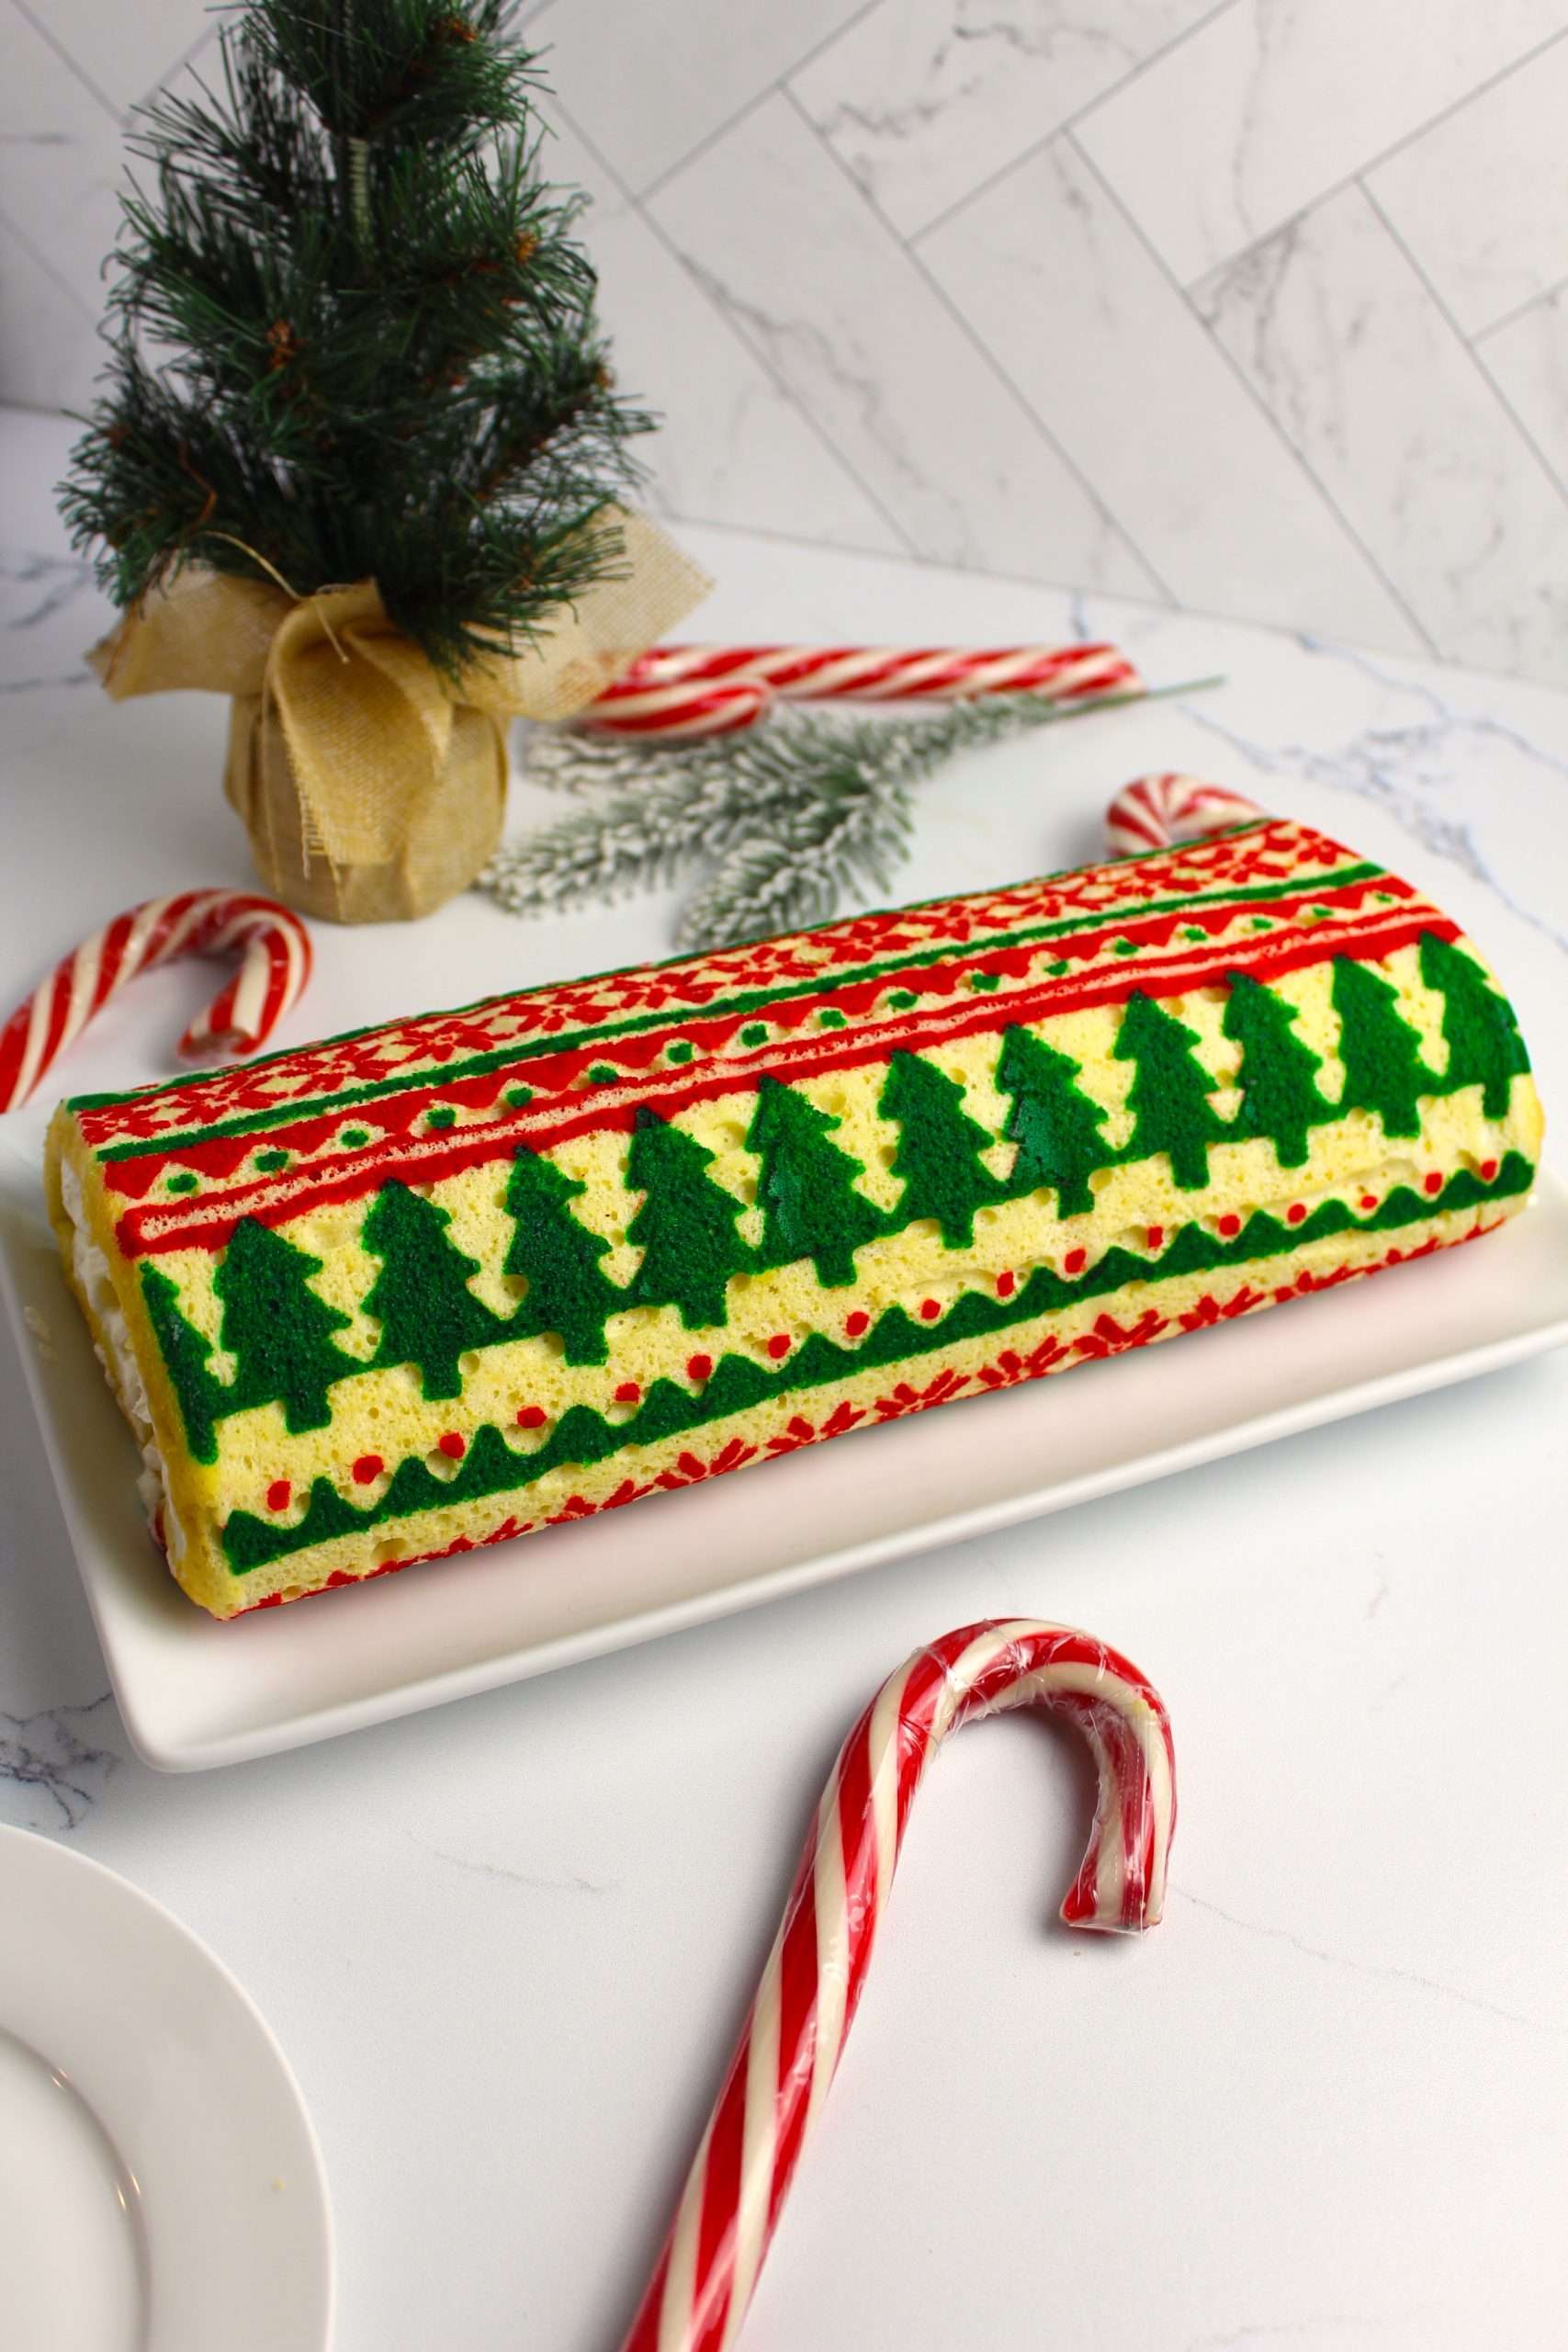
Ugly Sweater Swiss Roll
As you all know by now, I adore making these Designed Swiss Rolls. I have so much fun customizing them to fit any theme I want and the best part is that I get to share this technique and recipe with all of you! I hope that you all feel the excitement and confidence to create these on your own!

How To Create Designed Swiss Rolls
I will take you all through the recipe for these Designed Swiss Rolls in this blog but for a full in-depth tutorial on how to create these Designed Swiss Rolls with every tip and trick you need to know before diving in, visit my Holiday Designed Swiss Roll Master Guide by clicking here!

Designed Swiss Roll – Master Guide
Feel free to get creative with your whipped cream fillings for these Designed Swiss Rolls. Add Oreos to make it a cookies and cream filling, add cocoa powder to make it a chocolate filling, festive sprinkles, candy cane pieces, fun extracts, whatever you want! :)
How To Trace Your Designs Onto Parchment Paper
I unfortunately do not have templates yet that you all can have but I can just tell you that I usually just look online to find the character, design, or image that I want then use an edible marker to trace it onto my parchment paper. You may not find your design right off the bat, keep searching and keep an open mind. You can either trace your design onto your parchment paper from a clean iPad or tablet, or you can print the design you want and then go ahead and trace it from there. Always be careful to not use someone else’s property when choosing the design you want if you plan on selling your baked goods. Everything I bake is for leisure and for sharing with you all.

More Recipes You May Be Interested In…

Halloween Cake Push-Pops

Copycat Disney Halloween Caramel Apples

Pumpkin Oatmeal Cream Pies

Snoopy Halloween Cake

Bite-Sized Halloween Sugar Cookies

Giant Pillsbury Pumpkin Sugar Cookie
Ugly Sweater Swiss Roll
Join my creative baking community! In depth courses, direct access to me, and more 🤎 Click here to join!
8-10
servings8
minutesKeep the screen of your device on.
Ingredients
6 egg yolks
4 Tbsp. sugar
4 Tbsp. vegetable oil
4 Tbsp. whole milk
2 tsp. vanilla extract
1 cup all-purpose flour
2 Tbsp. cornstarch
6 egg whites
1/2 tsp. vinegar
4 Tbsp. sugar
Whipped Cream Filling
1 cup heavy whipping cream
2 1/2 Tbsp. confectioners sugar
dash salt
1 tsp. vanilla
Directions
- Preheat the oven to 375 degrees and grease a baking sheet with cooking spray and line it with parchment paper. I am using a standard 13″ x 18″ cookie sheet. Use an edible marker to draw or trace ugly sweater patterns all over the left half of your parchment paper.
- Whisk together the egg yolks and sugar until smooth. Keep the egg whites! We will need them later.
- Add the vegetable oil, milk, and vanilla to the egg yolk mixture and continue to whisk until fully combined.
- Sift in the flour and cornstarch to the wet ingredients. Then whisk until the batter is nice and smooth.
- In the bowl of a stand mixer fit with a whisk attachment, whisk the 6 egg whites until frothy. Slowly add in the vinegar and sugar while whipping up the egg whites.
- Whisk the egg whites until stiff peaks form. This is very important! Make sure the egg whites have formed stiff peaks before adding it to the batter in the next step.
- Fold the egg whites into the batter until everything is fully combined. Be careful not to over-mix at this step. If you over-mix, the egg whites will deflate and cause runny, thin batter. Mix just until the egg whites are evenly distributed throughout.
- Remove a couple of tsp. of batter into small bowls and dye every color you want for your design.
- Place each color into a piping bag.
- Trace and pipe your designs all over the left side of your prepared cookie sheet. You only need to pipe on one side since we will be rolling it up and won’t see designs that are on the inside.
- Pipe the remaining, uncolored batter on top of the designs to cover the entire cookie sheet. Then bake for 8-9 minutes or until golden brown on the edges.
- While the cake bakes, prepare a lightly damp rag to roll the cake in as soon as it comes out of the oven. You can also sprinkle a rag or parchment paper with granulated sugar if you wish to help prevent it from sticking. If you don’t want to use a rag, simply use parchment paper to roll it up.
- Place the cake on the damp kitchen rag and slowly peel off the parchment paper that it baked it on.
- Roll up the cake using the damp rag and let it sit and cool for about 1 hour. Refer to the video above for help with these steps.
- While the cake cools, you can prepare the whipped cream.
- In the bowl of a stand mixer fit with the whisk attachment, and whisk the cream, sugar, and vanilla until stiff peaks have formed and you have reached a whipped cream consistency.
- Once the cake has cooled, unravel it and fill it with the whipped cream until it is evenly spread.
- Re roll the cake then chill for about 15-20 minutes.
- Enjoy!
Did you make this recipe?
I love seeing what you bake on socials! Just tag @thesqueakymixer



I love all your bakes, so cute and comforting. But I don’t think I could do the designs on the jelly roll cakes.