Lemon Curd Recipe
Learn how to make a refreshing and perfectly tart homemade Lemon Curd with this easy to follow recipe. With only 5 simple ingredients you can make your very own lemon curd right from scratch. This curd comes together so quickly and so easily you’ll never go back to store bought again!
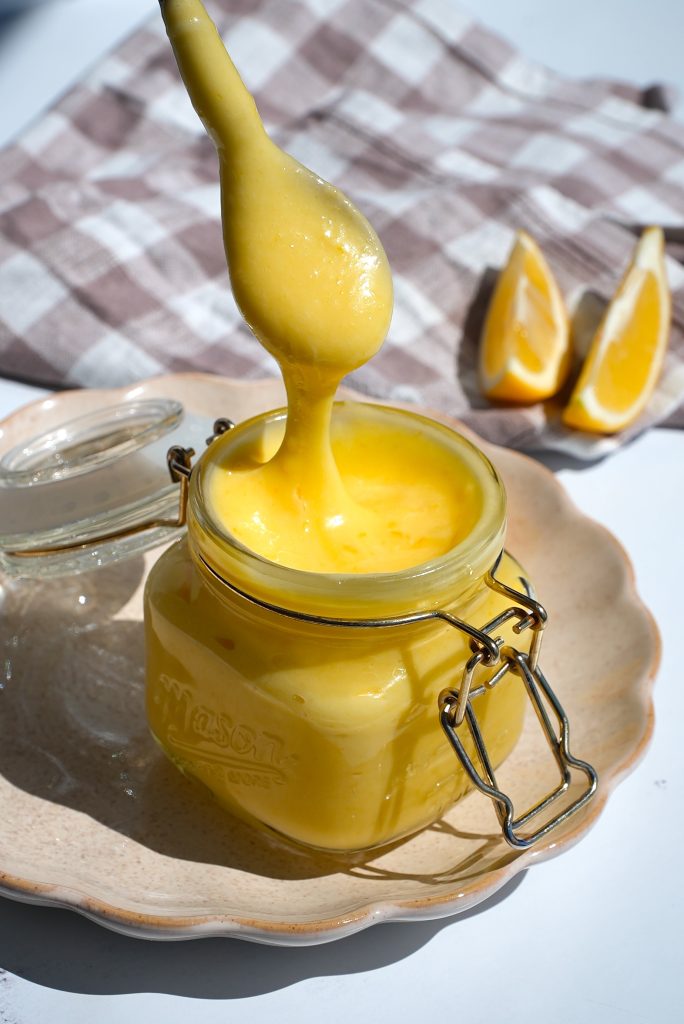
How To Make Homemade Lemon Curd
Step 1: Prepare Your Ingredients
- Zest your lemons first, then squeeze out the fresh lemon juice. In total I used about 4 lemons. I zest 2 of them then use the 3-4 to squeeze the juice out of! Fresh lemons are so superior to the already squeezed lemon juice you can find at the store.
- Separate the egg yolks from the whites and set them aside. Save the egg whites for a swiss meringue buttercream or egg white omelets :) Whatever use you can get out of egg whites so nothing goes to waste :)
Step 2: Infuse the Sugar with Lemon Zest
- In a small bowl, combine granulated sugar and lemon zest.
- Use your fingers to rub the zest into the sugar—this helps release the natural lemon oils, creating a stronger, more vibrant and oh so delicious flavor! You can also use a food processor for this step :)
Step 3: Whisk the Egg Yolks and Sugar
- In a small saucepan, whisk the egg yolks and lemon-infused sugar for about 2 minutes until the mixture becomes lighter in color and smooth.
- Add the fresh lemon juice and whisk to combine.
Step 4: Cook the Lemon Curd
- Place the saucepan over low heat, stirring constantly with a whisk. If you don’t mix constantly you risk the mixture at the bottom of the pan burning.
- Gradually increase the heat to medium-low (never go higher, or the eggs might scramble).
- Keep whisking until the mixture thickens and starts to bubble slightly.
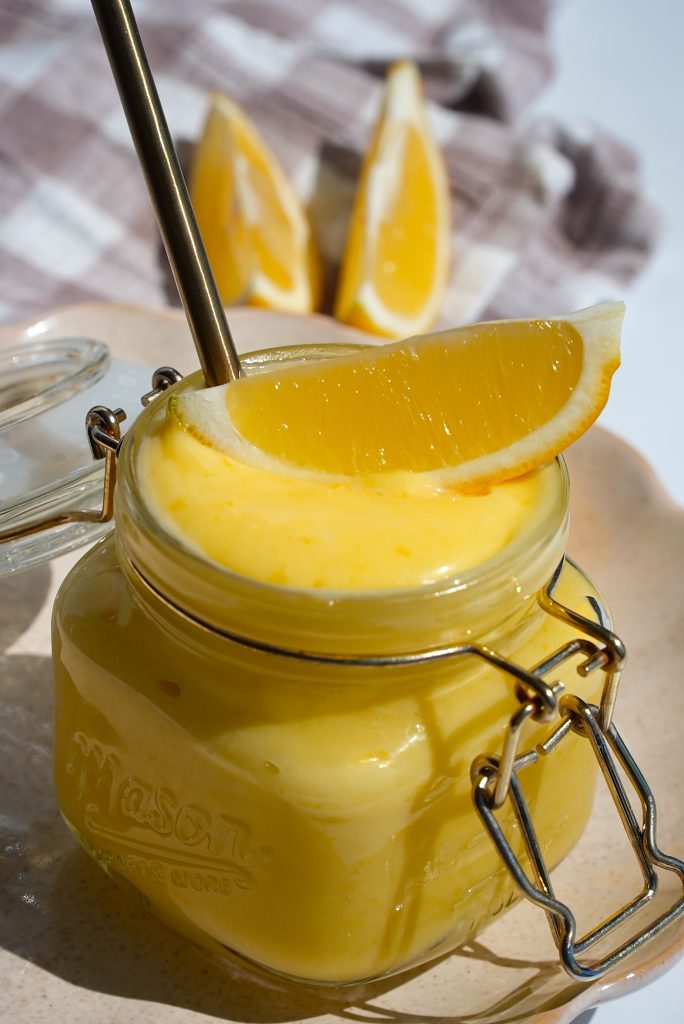
Step 5: Add the Butter
- Remove the saucepan from heat and immediately stir in cold, cubed butter.
- Whisk until the butter melts and blends into the curd, creating a silky smooth consistency.
Step 6: Cool and Store
- Transfer the warm lemon curd into a glass jar or airtight container.
- Press a piece of plastic wrap directly onto the surface to prevent a skin from forming.
- Let it cool in the fridge for at least 1 hour before using.
How to Store Homemade Lemon Curd
To keep your lemon curd fresh and delicious, follow these storage tips:
Refrigerate: Store in a sealed glass jar or airtight container for up to 2 weeks.
Prevent Skin Formation: Always press plastic wrap directly onto the surface before sealing the jar.
Freeze for Longer Storage: Lemon curd freezes super well! Store in an airtight container and freeze for up to 3 months. When ready to use, thaw overnight in the fridge.
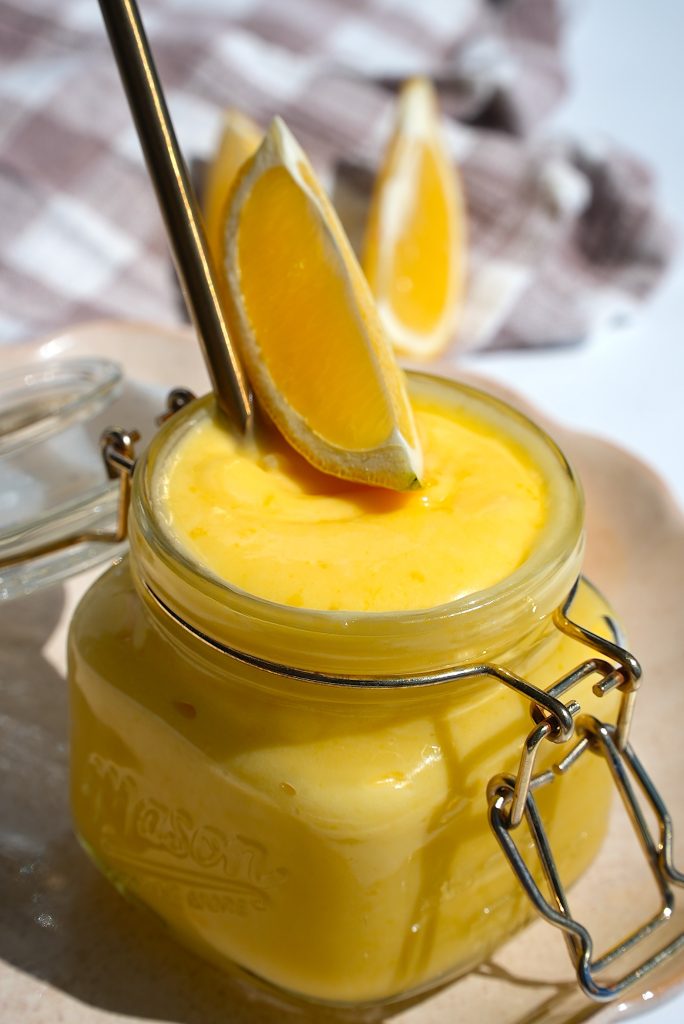
Recipe Tips for Perfect Lemon Curd
- Use fresh lemons – Bottled lemon juice won’t give you the same bright, fresh flavor.
- Low heat is key – Cooking too quickly can cause the eggs to scramble. Be patient – it’s worth the wait!
- Keep whisking – This ensures a smooth, lump-free texture.
- Use cold butter – It helps emulsify the curd, making it extra silky but not necessary :)
- Strain if needed – If you notice small egg bits, strain the curd through a fine-mesh sieve before storing.

Ways to Use Homemade Lemon Curd
- Need ideas on how to enjoy your lemon curd? Here are a few delicious ways to use it:
- Spread on toast, scones, or biscuits
- Swirl into yogurt or oatmeal
- Fill cakes, cupcakes, or tarts
- Drizzle over pancakes or waffles
- Use as a macaron filling
- With its bright citrus flavor and velvety texture, homemade lemon curd is a game-changer adding to any dessert!
Lemon Curd Recipe
Join my creative baking community! In depth courses, direct access to me, and more 🤎 Click here to join!
1 – 1 1/4 cups
servings15
minutes10
minutesKeep the screen of your device on.
Ingredients
1 1/4 cups granulated sugar
2 1/2 Tbsp. zest of 2 lemons
6 egg yolks
1/3 cup fresh squeezed lemon juice
1/2 cup unsalted butter, cold & cubed
Directions
- Prep all of your ingredients starting with the lemon zest then moving on to squeezing your lemons for lemon juice and lastly, separating your egg yolks and egg whites. Set each aside.
- Combine the sugar and lemon zest in a small bowl. Use your fingers to press and combine the sugar and zest together. This will help release a stronger more vibrant lemon flavor throughout your curd.
- Combine the egg yolks and sugar in a small sauce pot. Whisk for 2 minutes until lighter in color and fully combined. Add the lemon juice.
- Place this sauce pot over low heat and stir constantly with a whisk. You can increase the heat to medium-low but never any higher. While continuing to whisk you’ll notice the mixture gradually thicken and begin to bubble.
- Once the mixture has thickened, remove it from the heat then add in the cold cubed butter. Whisk until the butter has melted and combined evenly with the rest of the curd.
- Transfer the lemon curd to a glass jar or container with a tight fitting lid. Place a layer of plastic wrap directly over the curd pressing it onto the surface to prevent a skin from forming then cover tightly with a lid.
- Place the curd in the fridge to cool down and thicken even more. It will be cooled and ready to use after about 1 hour of chilling.
- Enjoy!
Did you make this recipe?
I love seeing what you bake on socials! Just tag @thesqueakymixer