

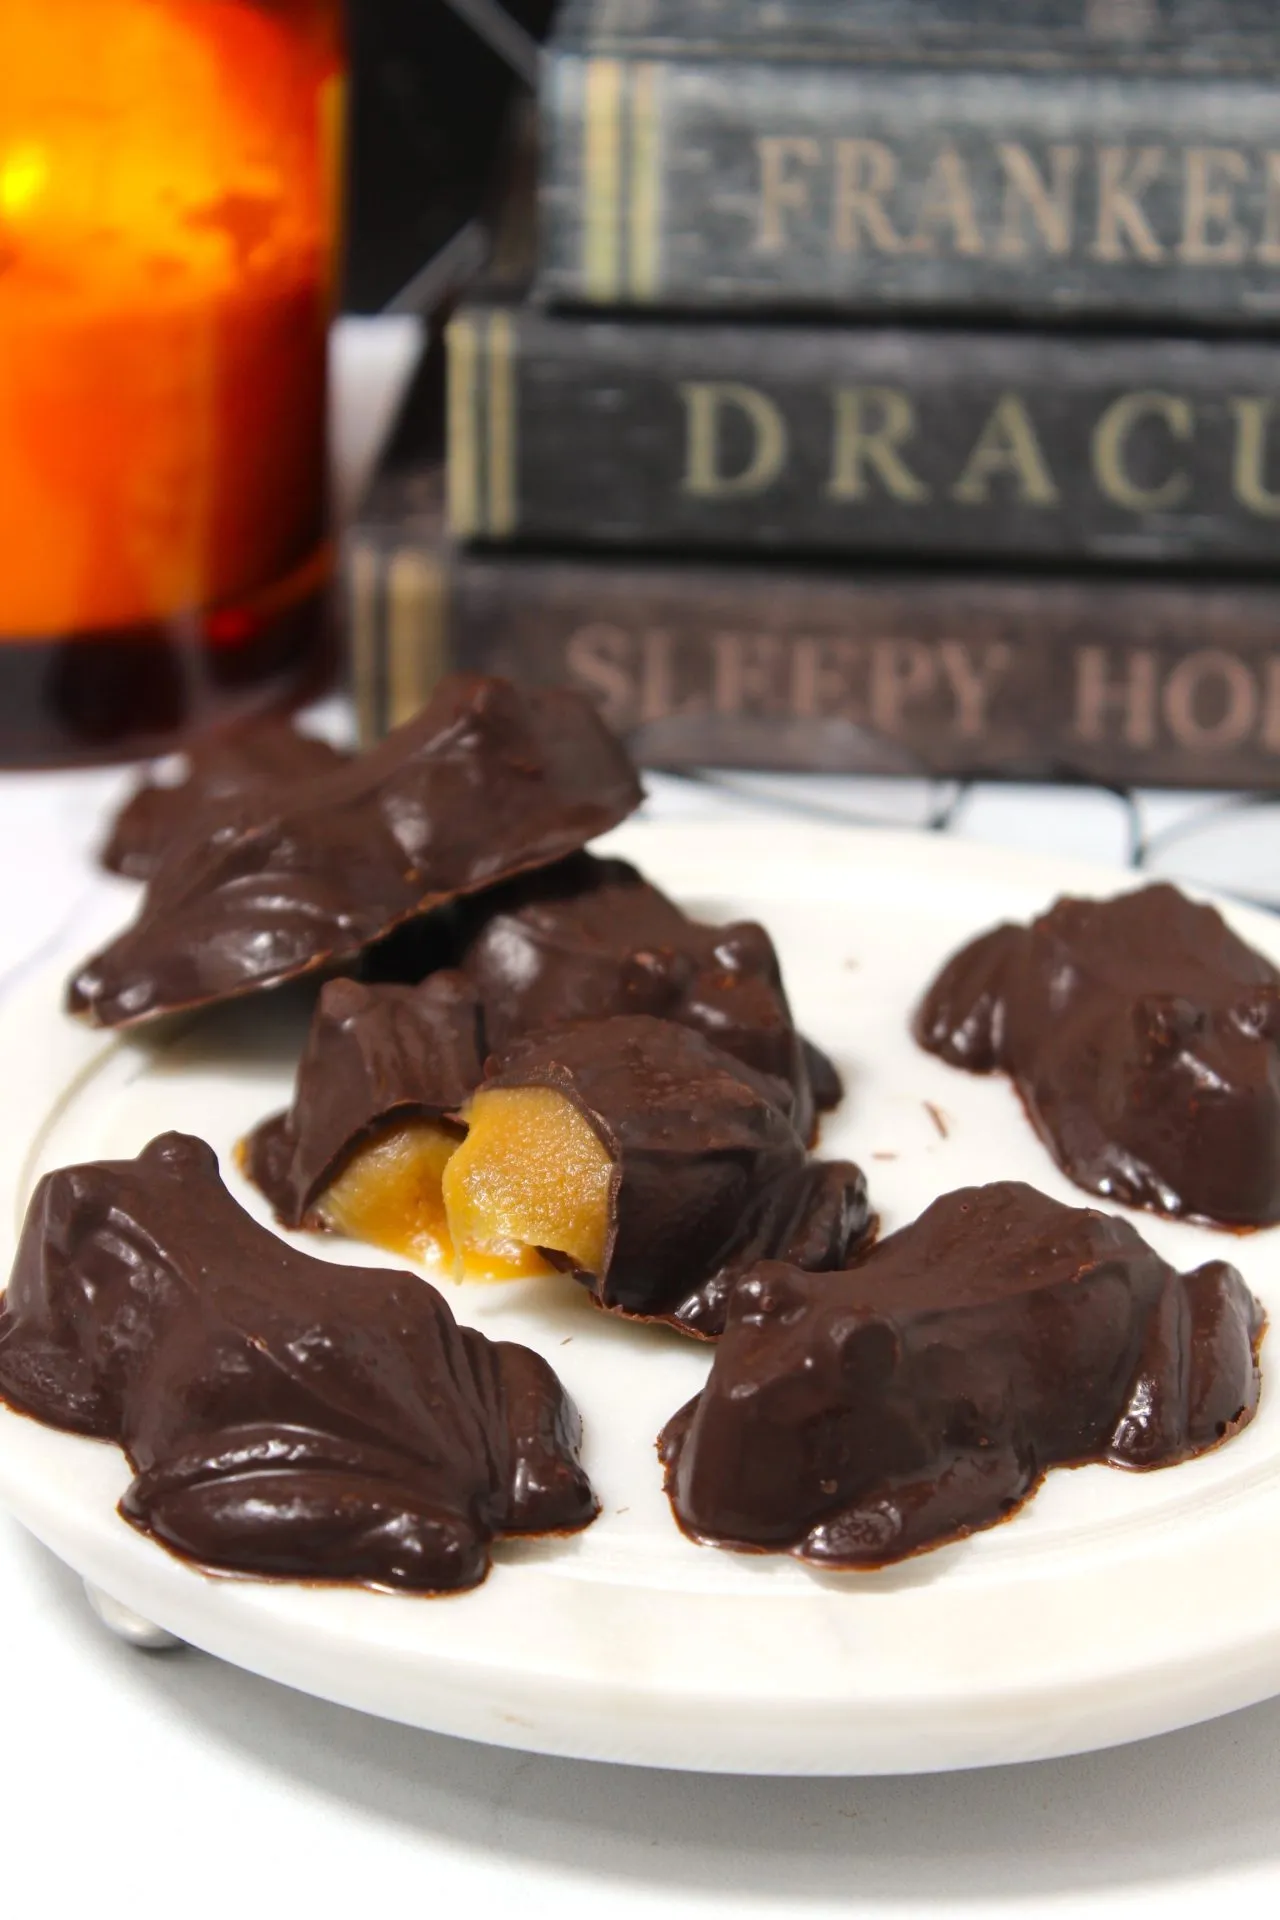
Homemade Harry Potter Chocolate Frogs
Creating your own Harry Potter chocolate frogs at home is fun and magical and allows you to enjoy a delicious treat filled with homemade caramel. These chocolate frogs are perfect for any Harry Potter-themed party or as a special gift for fans of the wizarding world!

How To Make Homemade Harry Potter Chocolate Frogs
Step 1: Prepare Your Frog Mold
Before you start tempering the chocolate, ensure that your frog mold is clean and free of any water droplets. This will prevent any imperfections in your chocolate frogs.
Step 2: Temper the Chocolate
Tempering chocolate is a crucial step in achieving a glossy finish and a satisfying snap when you bite into the chocolate. Start by placing 2/3 of the chopped chocolate in a large bowl over a double boiler. Stir the chocolate as it melts and monitor the temperature with a thermometer. Once it reaches 115°F, remove it from the heat and gradually add the remaining chocolate, stirring continuously. Once the temperature drops to 84°F, place the bowl back over the double boiler for a few seconds to raise the temperature to 89°F. Your chocolate is now tempered and ready to use.
Step 3: Fill the Molds
Ladle the tempered chocolate into the frog molds, filling them to the top. Tap the mold on the counter to release any air bubbles, then tip the mold upside down to remove the excess chocolate, creating a hollow shell. Scrape off any excess chocolate from the top of the mold and place the mold in the fridge to chill.

Tips for Tempering Chocolate
Use a thermometer: Chocolate can be temperamental, and a thermometer ensures you hit the right temperatures.
Avoid water: Even a drop of water can cause chocolate to seize, so make sure everything is completely dry.
Work quickly: Once tempered, work quickly to fill your molds before the chocolate cools. 89 degrees F. is the ideal working temperature.

How to Make Homemade Caramel
Step 1: Melt the Sugar
In a large pan over medium heat, melt the sugar, stirring constantly. The sugar will clump and then eventually melt into a deep amber liquid. Be patient and avoid increasing the heat, as this can cause the sugar to burn.
Step 2: Add the Butter
Once the sugar has melted, stir in the butter. The mixture will bubble up, so be cautious. Continue stirring until the butter is fully incorporated.
Step 3: Add the Cream
Remove the pan from the heat and slowly pour in the heavy cream, stirring continuously. The caramel will bubble up again but continue stirring until everything is well combined. Add the salt and stir until dissolved.
Step 4: Cool the Caramel
Pour the caramel into a heatproof jar and let it cool in the fridge for 45 minutes to 1 hour.

Tips for Making Homemade Caramel
Use a heavy-bottomed pan: This helps distribute heat evenly and prevents burning.
Stir constantly: This ensures the sugar melts evenly and doesn’t burn.
Be patient: Rushing the process can lead to burnt sugar or caramel that’s too thick.

How to Store Homemade Chocolate Frogs
Store your homemade chocolate frogs in an airtight container in a cool, dry place. If your home is particularly warm, you can store them in the fridge to prevent the chocolate from melting. However, keep in mind that refrigeration can sometimes cause the chocolate to develop a white “bloom” from cocoa butter rising to the surface. This doesn’t affect the taste, but it can alter the appearance.
More Recipes Like Homemade Harry Potter Chocolate Frogs

Harry Potter Butterscotch Cookies

Harry Potter Cupcakes

Pumpkin Spice Jack-O-Lantern Cookies

Pumpkin Cupcakes With Cream Cheese Frosting & Halloween Hats
Links To Products I Used For This Recipe
Homemade Harry Potter Chocolate Frogs
Join my creative baking community! In depth courses, direct access to me, and more 🤎 Click here to join!
4
servings30
minutes40
minutesKeep the screen of your device on.
Ingredients
32 oz. semi-sweet chocolate baking bars, chopped
- Caramel Filling
1 cup granulated sugar
6 Tbsp. unsalted butter, room temperature
1/2 cup heavy cream, room temperature
1/2 tsp. salt
Directions
- Beginning with tempering our chocolate, first, make sure that your frog mold is clean, has no smudges, and is 100% clear from any water droplets. Set aside.
- Place a pot filled with at least 2 inches of water over medium heat then place about 2/3 of the chopped chocolate in a large bowl. Place this bowl over the pot to make our double boiler. Stir the chocolate with a silicone spatula as it begins to melt.
- Use a thermometer to monitor the temperature and remove the chocolate from the heat as soon as it reaches 115 degrees F. Do not let this get over 120 degrees F. Once you’ve removed the 115 degrees F. chocolate from the heat, slowly and gradually add the remaining 1/3 of the chocolate while stirring constantly with a silicone spatula. This chocolate will melt in the already melted chocolate. Be sure not to get any water involved or it will cause our chocolate to seize.
- Continue to stir the chocolate together until the temperature falls down to 84 degrees F. This will take longer in a glass bowl since the glass will retain the heat longer. You can always place your bowl over another bowl filled with water and ice to make an ice bath, but again – do not get any water into our chocolate mixture.
- Once our chocolate is fully combined and is reading 84 degrees F. place it back over the double boiler for a few seconds at a time while constantly mixing to get the temperature up to 89 degrees F. Once it hits this point, remove it from the heat and do not let it exceed 91 degrees. This is the ideal working temperature.
- Use a ladle to pour and fill our completely dry frog molds. Fill the mold up to the very top. Once each mold is filled, tap the mold up and down on the counter to release any air bubbles and make sure that every part of the mold is filled.
- Tip the mold upside down over the bowl of chocolate to release the extra chocolate in the mold – in this step, we are just creating the chocolate shell.
- Use a cake scraper or bench scraper to scrape off the excess chocolate from the top of the mold.
- Place our mold in the fridge to chill while we make the caramel. Set the chocolate aside at room temperature and we can reheat it to 89 degrees later on.
- Caramel Filling
- In a large pan, heat the sugar over medium heat. Try to avoid using a non-stick pan. Stir the sugar constantly using a wooden spoon. The sugar will eventually melt after about 8-10 minutes into a darker amber color. Do not increase the heat level to speed up this process – it will burn the sugar. The sugar will form large and small clumps – don’t worry! Continue to heat and mix.
- Once the sugar has turned a darker amber color and melted down, stir in the butter over low heat. This will begin to bubble so be careful. Continue to mix over low to medium heat until the butter is fully combined with the sugar. This can take some time. Allow the mixture to sit for 15 seconds at a time and bubble a bit then mix. Repeat this until it’s fully combined. This process could take 5-10 minutes so don’t worry. Take your time and be patient.
- Once the butter has fully combined with the sugar remove it from the heat then pour in the heavy cream. The cream will bubble rapidly, so be ready, aware, and careful.
- Once the heavy cream is nicely combined with the caramel, stir in the salt and mix until it has fully dissolved and is fully distributed into the caramel.
- Place the caramel in a heat-proof glass jar then let sit in the fridge to cool for about 45 minutes to 1 hour.
- Once our caramel has cooled, pour it into a piping bag then remove our chocolate frog molds from the fridge. Pipe a generous amount of caramel filling filling it to the top. Use the same cake scraper or bench scraper to smooth out the caramel in the filling. Once the caramel has been filled and smoothed, place in the fridge while we reheat the remaining chocolate.
- Place the chocolate back over the double boiler while stirring until it reaches 89 degrees F. again then ladle the chocolate over the caramel-filled molds. Use a scraper to remove excess chocolate until it is nice and smooth.
- Place our frog mold in the fridge for about 1 hour or longer.
- flip the mold upside down and one at a time, release each frog. The longer the frogs have chilled, the thicker the caramel will be. The longer they sit out at room temperature, the softer the caramel will become.
- Enjoy!
Did you make this recipe?
I love seeing what you bake on socials! Just tag @thesqueakymixer


