


Spongebob Designed Sponge Cake
Creating a SpongeBob-themed sponge cake is a fun way to celebrate any special occasion, especially for fans of the beloved animated series. This cake is not only visually stunning but also so delicious. In this blog, we’ll walk you through the process of making a SpongeBob and Patrick sponge cake, from preparing the sponge cake batter to decorating with gel food dyes. Let’s dive into the sea of designed sponge cakes!

How To Make A Designed Sponge Cake
- Prepare Your Pans:
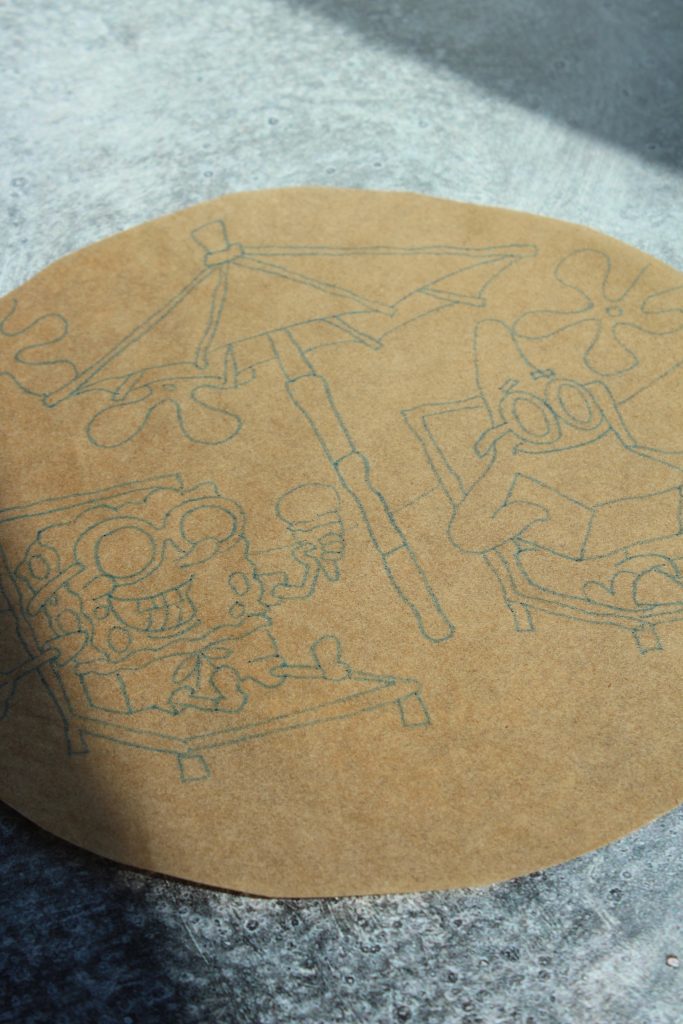
- Cut parchment paper to fit your pans perfectly, then use an edible marker to trace your desired SpongeBob and Patrick designs onto the parchment.
- Preheat the oven to 375 degrees F, grease your pans with cooking spray, and line them with the designed parchment paper.
- Separate the Eggs:
- Separate the egg whites from the yolks, placing the whites in a large bowl and the yolks in an even larger bowl. Set aside the egg whites for later.
- Make the Yolk Batter:
- Whisk together the egg yolks, 1/2 cup sugar, vegetable oil, milk, and vanilla extract until smooth.
- Sift the flour and cornstarch into the egg yolk mixture, whisking until the batter is thick and smooth. Set aside.
- Beat the Egg Whites:
- In the bowl of a stand mixer fitted with a whisk attachment, whisk the egg whites until frothy. Slowly add the remaining 1/2 cup sugar and white vinegar.
- Continue whisking until stiff peaks form. The peaks should stand up straight when the whisk is lifted.
- Fold the Egg Whites into the Yolk Batter:
- Gently fold the stiff egg whites into the egg yolk mixture. Be careful not to overmix, as this can deflate the egg whites and result in a thin, runny batter. Mix just until the egg whites are evenly distributed and the batter has few streaks.
Why It’s Important To Not Over-Mix
Overmixing your sponge cake batter can be detrimental to the texture and structure of your cake. When you overmix, you can cause the air bubbles incorporated from whisking the egg whites to collapse, resulting in a denser, less airy cake. For a light and fluffy sponge cake, it’s crucial to fold the ingredients together gently and only until just combined.
How to Avoid Deflating Egg Whites in Cake Batter
To maintain the volume and lightness of the egg whites, follow these tips:
- Fold, Don’t Stir: Use a gentle folding motion to incorporate the egg whites into the batter. This helps keep the air bubbles intact.
- Use a Large Spatula: A large silicone spatula is ideal for folding, as it allows you to move more batter with each fold.
- Add in Batches: Fold in the egg whites in three to four batches. This helps to lighten the batter gradually and minimizes the risk of deflating the egg whites.
How To Fold Egg Whites Into Batter
- Prepare the Batter: Ensure your yolk batter is smooth and ready before you start folding in the egg whites.
- Add a Portion of Egg Whites: Start by adding about one-third of the whipped egg whites to the yolk batter. Use a large spatula to gently fold them in, cutting down through the center of the batter, across the bottom, and up the sides.
- Repeat the Process: Add another third of the egg whites and fold gently. Repeat with the remaining egg whites until the batter is light and airy with a few streaks of egg white remaining.
Tips For Making Homemade Whipped Cream
- Chill Your Equipment: For best results, chill the bowl and whisk attachment of your stand mixer in the refrigerator for about 15 minutes before making the whipped cream.
- Combine Ingredients: In the chilled bowl, combine the heavy whipping cream, confectioners’ sugar, salt, and vanilla extract.
- Whisk to Stiff Peaks: Start whisking on medium speed, then increase to high speed until stiff peaks form. This means the cream should hold its shape firmly when the whisk is lifted.
- Add Fresh Fruit (Optional): If you like, fold in fresh fruit to add a burst of flavor and texture to your whipped cream filling.
Gel Food Dye vs. Liquid Food Dye
When decorating your SpongeBob and Patrick sponge cake, choosing the right type of food dye is crucial for achieving vibrant colors without altering the consistency of your batter.
Gel Food Dye
- Vibrant Colors: Gel food dyes are highly concentrated, offering vibrant colors with just a small amount.
- Consistency: They do not add extra liquid to your batter, ensuring the texture remains consistent.
- Usage: Perfect for detailed designs and bright, bold colors.
Liquid Food Dye
- Less Intense Colors: Liquid dyes are less concentrated, so you need more to achieve the same color intensity.
- Changes in Texture: Adding too much liquid dye can thin out your batter, potentially affecting the texture of your cake.
- Usage: Better suited for lighter shades and simpler designs.
Decorating Your Sponge Cake
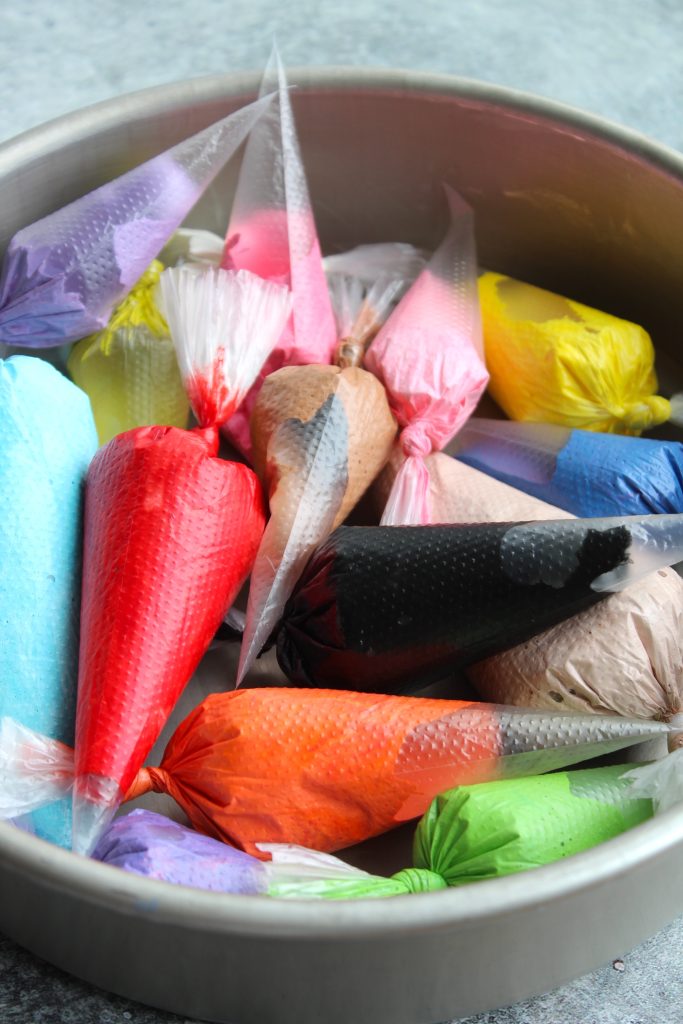
- Prepare Your Colors: Use small bowls to dye portions of your batter with gel food dyes. Scoop a bit of the batter into each bowl to create the colors you need for SpongeBob and Patrick.
- Pipe Your Design: Transfer the colored batters into piping bags. Carefully pipe your design onto the parchment paper following your traced outlines.
- Freeze the Design: Once your design is complete, freeze it for 5-8 minutes to set the batter and make it firm.
- Add the Uncolored Batter: Pipe the remaining uncolored batter on top of the frozen design.
- Bake: Bake the cake for 8-10 minutes or until golden brown around the edges.
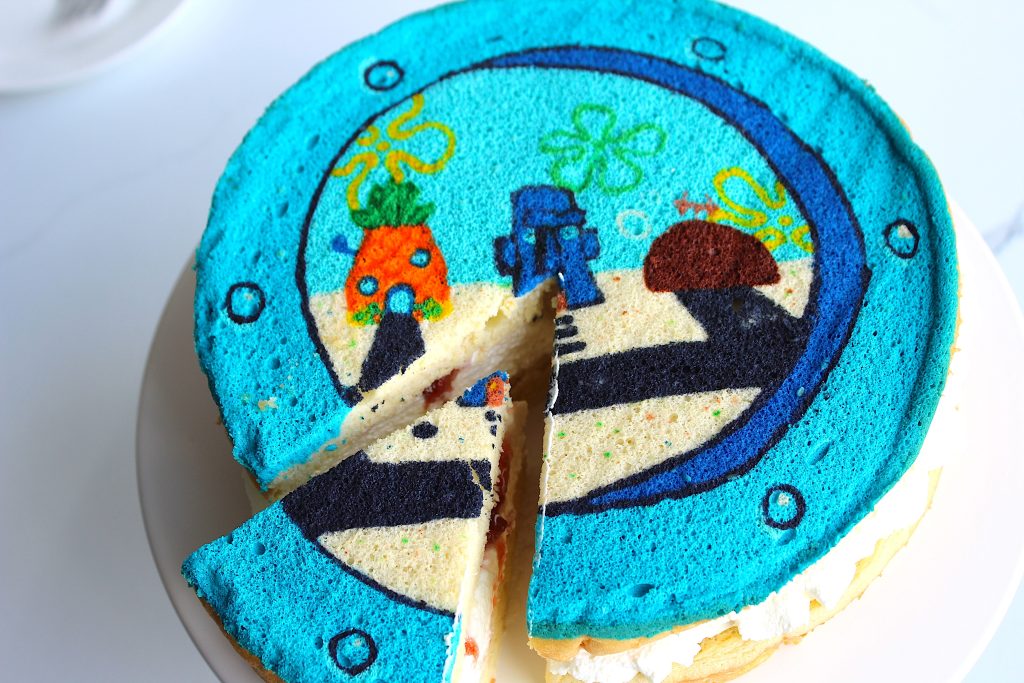
- Reveal Your Design: Flip the pan onto parchment paper while the cake is still hot, and gently peel off the parchment to reveal your design.

More Recipes You Might Be Interested In
Spongebob Cake

Star Wars Sponge Cake
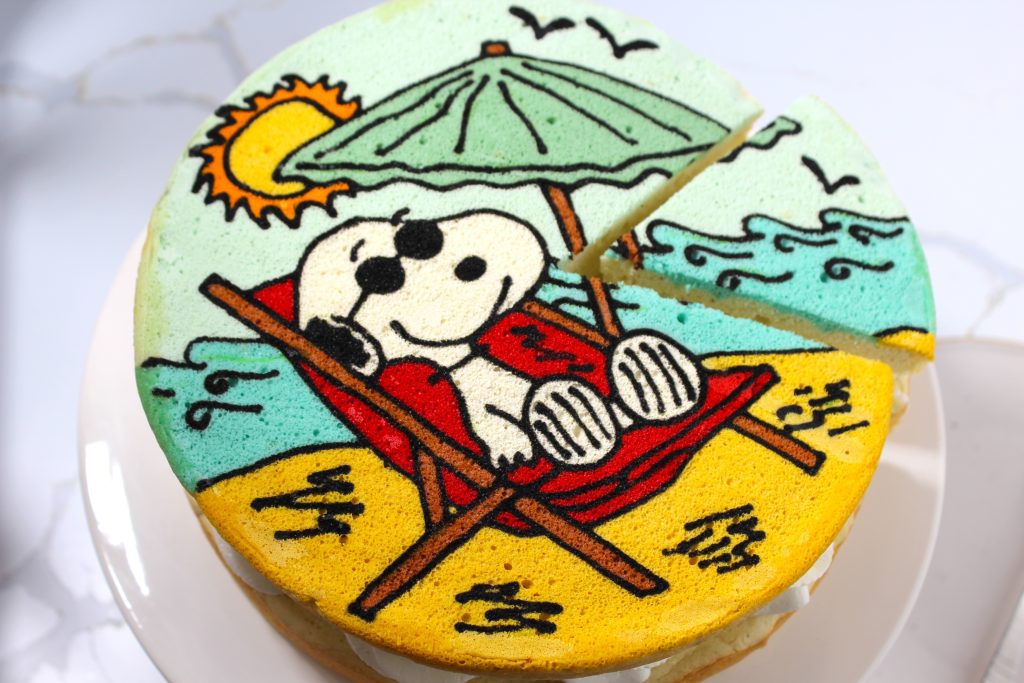
Snoopy Summer Cake

Bluey Sponge Cake

Hawaiian Sponge Cake

Ice Cream Designed Sheet Cake

Spongebob Designed Sponge Cake
Join my creative baking community! In depth courses, direct access to me, and more 🤎 Click here to join!
10-12
servings30
minutes10
minutesKeep the screen of your device on.
Ingredients
12 egg yolks
1/2 cup sugar (for yolk batter)
1/2 cup vegetable oil
1/2 cup whole milk
4 tsp. vanilla extract
2 cups all-purpose flour
1/4 cup cornstarch
1 tsp. white vinegar
12 egg whites
1/2 cup sugar (for egg whites)
gel food dye (not liquid)
- Whipped Cream Filling
2 cup heavy whipping cream
5 Tbsp. confectioners sugar
dash salt
2 tsp. vanilla
fresh fruit, optional
Directions
- Cut your parchment paper to fit your pan perfectly then use an edible marker to trace your desired design onto parchment paper. I am using an 8″ circle pan.
- Preheat the oven to 375 degrees F and grease your pan with cooking spray and line it with the designed parchment paper. This makes three layers of sponge cake. You can also just use a standard-size cookie sheet, note that using a standard-size cookie sheet will only make two layers instead of three.
- Separate the egg whites from the egg yolks. We are using every part of the egg in this recipe so hang onto both. Place the egg whites in a large bowl and the egg yolks into an even larger bowl. Set the egg whites aside, we will need them later.
- Whisk together the egg yolks, sugar, vegetable oil, milk, and vanilla until smooth.
- Sift the flour and cornstarch into the egg yolk mixture. Whisk until the batter is nice and smooth. The batter will be thick. Set aside.
- In the bowl of a stand mixer fit with a whisk attachment, whisk the egg whites from earlier until frothy. Slowly add the sugar and vinegar to the egg whites.
- Whisk the egg whites until stiff peaks form. This is very important. Stiff peaks should be able to stand up straight when the whisk is lifted.
- Add the egg whites to the egg yolk mixture. Gently fold in the egg whites. Be careful not to over-mix the batter. Over mixing will deflate the egg whites and make the batter, thin and runny. Mix until the egg whites are just evenly distributed and the batter has few streaks.
- Use small bowls to dye each color that you will need to make your design. Scoop a bit of the batter at a time into these small bowls to make every color you need. Place each color into a piping bag.
- Pipe the design with your desired colors. Do your best to trace the design that you created earlier, with your piping bag.
- Once you have the design finished, freeze it for 5-8 minutes so it sets and is nice and firm.
- Pipe the original, uncolored batter on top of the frozen design.
- Bake for 8-10 minutes or until golden brown on the edges.
- As soon as the cake comes out of the oven, flip the pan onto parchment paper. The design will be facing up. While the cake is still hot, peel off the parchment paper to reveal the beautiful design. Bake the remaining batter on the same-size pan fit with un-designed parchment paper. The other layers do not need designs since they will be hidden in the layers. They will bake the same way. Let the cakes cool before assembling.
- To make the Whipped Cream, in the bowl of a stand mixer fit with the whisk attachment, whisk the cream, sugar, and vanilla until stiff peaks have formed and you have reached a whipped cream consistency.
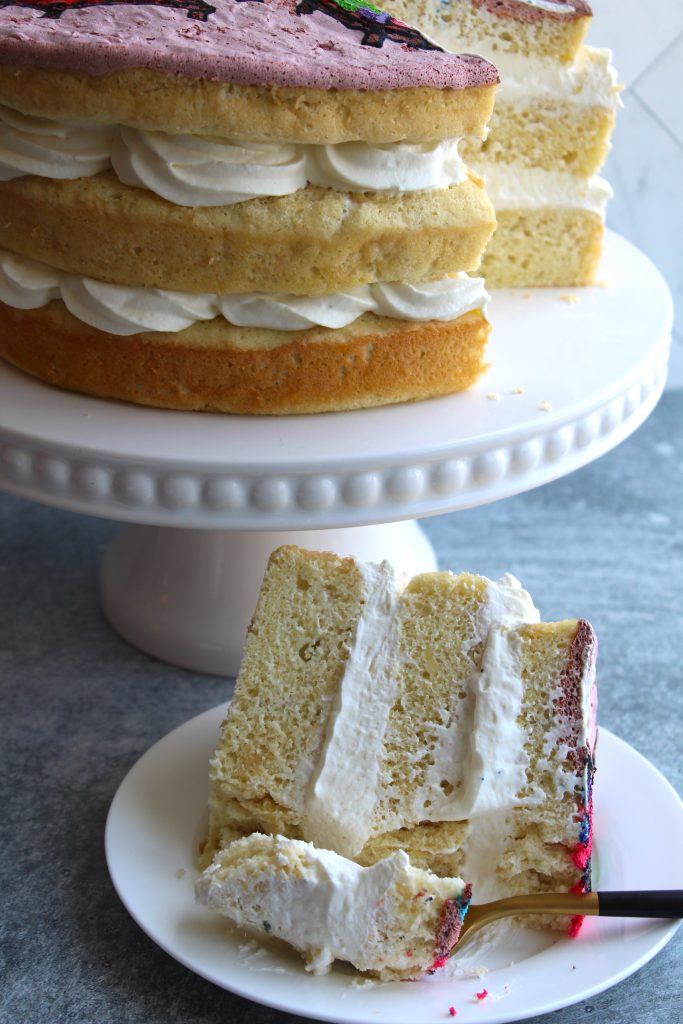
- Once the cakes have cooled, layer the cakes with evenly spread whipped cream between each layer, adding fresh fruit is optional. Use the designed sheet cake as the top layer.
- Feel free to trim the sides to clean it up a bit if you wish to give the cake a more complete look.
- Enjoy!
Did you make this recipe?
I love seeing what you bake on socials! Just tag @thesqueakymixer


