Mini Valentine’s Day Message Heart Sugar Cookies
I’m a sucker for the little Valentine’s Day message heart candies you see every year. While I loved the taste of them as a kid, now I’m more so in it for the nostalgia rather than the flavor. That’s why these Mini Valentine’s Day Message Heart Sugar Cookies are the PERFECT combination of delicious, soft, buttery, tender vanilla-forward flavors, and the nostalgia of the classic candy. I hope that you enjoy this recipe as much as I do and make these delicious Valentine’s Day sugar cookies for your loved ones, special someone, Galentine’s Day pals, and so many more!

How To Make Mini Valentine’s Day Message Heart Sugar Cookies
This recipe is extremely easy to make, and if you’re really in a pinch, it can be made with premade sugar cookie dough to save you even more time. But, and I may be biased, this sugar cookie recipe is to die for! It’s so soft and tender and not overly sweet. When paired with the vanilla candy melts, you’re left with adorable, delicious Valentine’s Day cookies perfect for sharing!
- Preheat your oven to 350°F and lightly grease your Valentine’s Day silicone mold.
- Whisk together the flour, baking powder, and salt in a medium bowl.
- In a separate bowl, cream the butter and sugar until light and fluffy (about 2 minutes).
- Add the egg and vanilla extract, mixing until fully combined.
- Gradually add the dry ingredients and mix until a soft, sticky dough forms.
- Transfer the dough to a piping bag and pipe it carefully into every crevice of the mold.
- Bake for 12–15 minutes, then let the cookies rest in the mold for about 10 minutes before removing.
- Cool completely before decorating.
Once cooled, clean and dry the mold and prepare your candy melts. Melt each color in 30-second intervals, stirring between rounds until smooth. Pipe the candy melts into the mold, gently press the matching cookie on top, and freeze for 15 minutes before unmolding.

Recipe Tips
- • Use a piping bag for the dough – This ensures clean edges and helps fill every detail of the mold.
• Don’t overbake – You want the cookies just set, not golden, to keep them soft and tender.
• Let cookies cool fully before decorating – Warm cookies will melt the candy melts and cause smudging.
• Less pressure is more – When pressing cookies into the candy melts, apply gentle pressure so the candy doesn’t squeeze out the sides.
How to Store Mini Valentine’s Day Message Heart Sugar Cookies
These cookies store beautifully, making them ideal for gifting and prepping ahead.
- • Room temperature: Store in an airtight container for up to 4 days.
- • Refrigerator: Up to 7 days in a sealed container.
- • Freezer: Freeze fully finished cookies for up to 2 months. Layer with parchment paper to prevent sticking.
Recipe Alternatives & Flavor Variations
- Try swapping the vanilla extract for:
- Almond extract (use ½ tsp for a bakery-style flavor)
- Lemon extract for a bright, fresh Valentine twist
- Strawberry extract for a candy-inspired flavor
- Orange extract paired with chocolate-colored candy melts
- Tint the cookie dough with food gel
- Use white chocolate or chocolate candy melts
- Add festive sprinkles before the candy melts set

Can I Make This Recipe Ahead of Time?
Yes! This is a fantastic make-ahead Valentine’s Day dessert! :)
- The cookie dough can be made up to 24 hours in advance and stored covered in the fridge.
- Baked cookies (undecorated) can be stored for 2 days before decorating.
- Fully decorated cookies can be made 3–4 days ahead and stored airtight.
More Valentine’s Day Recipes You Might Enjoy!
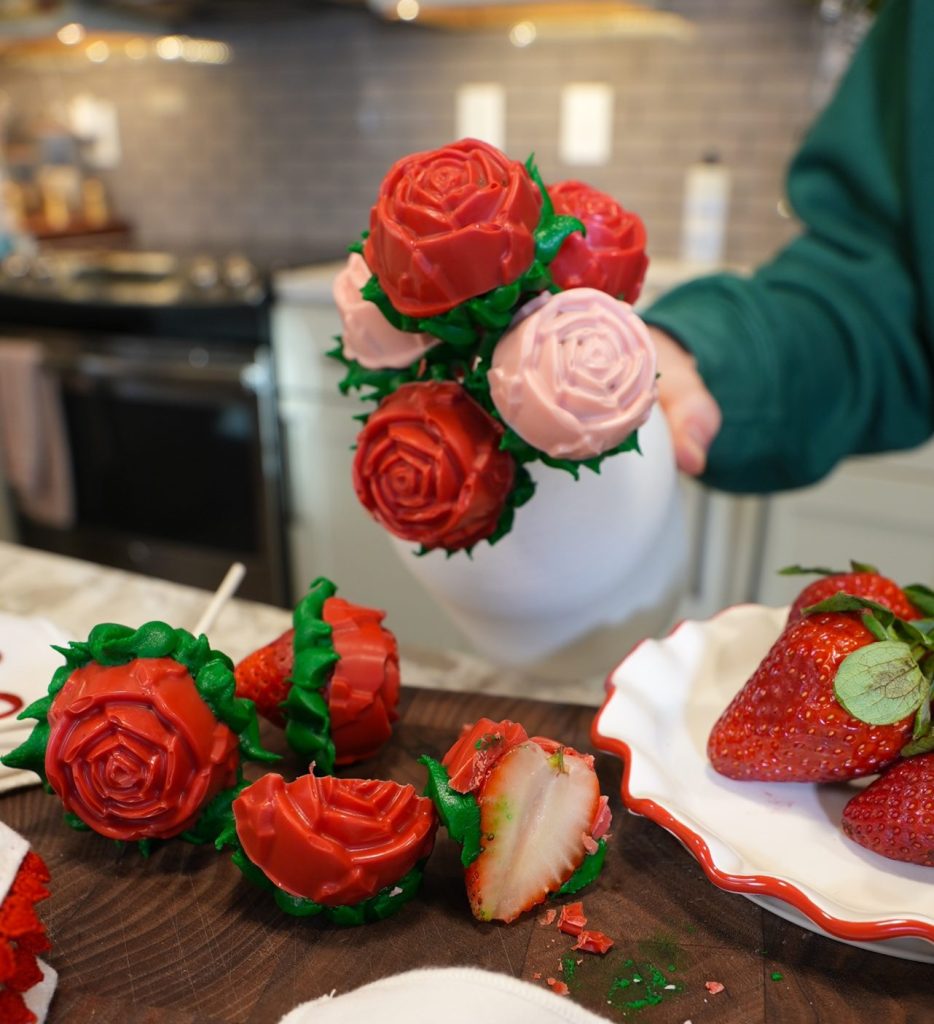
Strawberry Roses

The BEST Valentine’s Day Desserts

Valentine’s Day Rice Krispie Treats

Valentine’s Day Chocolate Sugar Cookie Bars

Valentine’s Day Red Velvet Cheesecake Bars
Heart Shaped Hostess Cupcake Cookies

Chocolate Cream Puffs With Strawberry Whipped Cream

Snoopy Valentine’s Day Designed Sponge Cake
Mini Valentine’s Day Message Heart Sugar Cookies
Join my creative baking community! In depth courses, direct access to me, and more 🤎 Click here to join!
42
servings10
minutes12
minutesFind the silicone molds I used on Amazon here!
Keep the screen of your device on.
Ingredients
1 1/2 cups all-purpose flour
1 tsp. baking powder
1/4 tsp. salt
1/2 cup unsalted butter, room temperature
1/2 cup granulated sugar
1 egg
1 tsp. vanilla extract
- Decorating (candy melts)
1/4 cup pink candy melts
1/4 cup green candy melts
1/4 cup blue candy melts
1/4 cup orange candy melts
1/4 cup purple candy melts
1/4 cup yellow candy melts
Directions
- Find the silicone molds I used on Amazon here!
- Preheat the oven to 350 degrees F and lightly grease the Valentine’s Day silicone mold. Place the mold onto a cookie sheet. Set aside.
- In a medium-sized bowl, whisk together the flour, baking powder, and salt. Set aside.
- In a separate, large bowl, use an electric mixer to cream together the butter and the sugar. About 2 minutes.
- Scrape down the sides of the bowl, then add in the eggs and vanilla. Mix to combine.
- Pour the dry ingredients into the wet mixture and mix until a soft, fully combined dough forms. The dough will be sticky – don’t worry.
- Place the dough into a piping bag. One at a time, pipe the cookie dough into each mold. Make sure to pipe the cookie dough into each crevice.
- Bake for 12-15 minutes. Once the cookies come out of the oven, allow them to sit in the mold for about 10 minutes before removing.
- Once the cookies have set, gently pop them one at a time out of the mold. Allow the cookies to cool completely before decorating. Clean and dry the candy melt molds completely.
- One color at a time, melt the candy melts in 30-second increments, mixing between each time until completely smooth. Place each color into a piping bag.
- Pipe the colors into the mold, then gently press the corresponding cookie into the mold. Do not press down too much to squish the candy melts out of the sides, just enough so that the cookie and candy melts meet.
- Transfer the cookies to the freezer for at least 15 minutes to set. Then gently pop the cookies out of their molds.
Did you make this recipe?
I love seeing what you bake on socials! Just tag @thesqueakymixer