

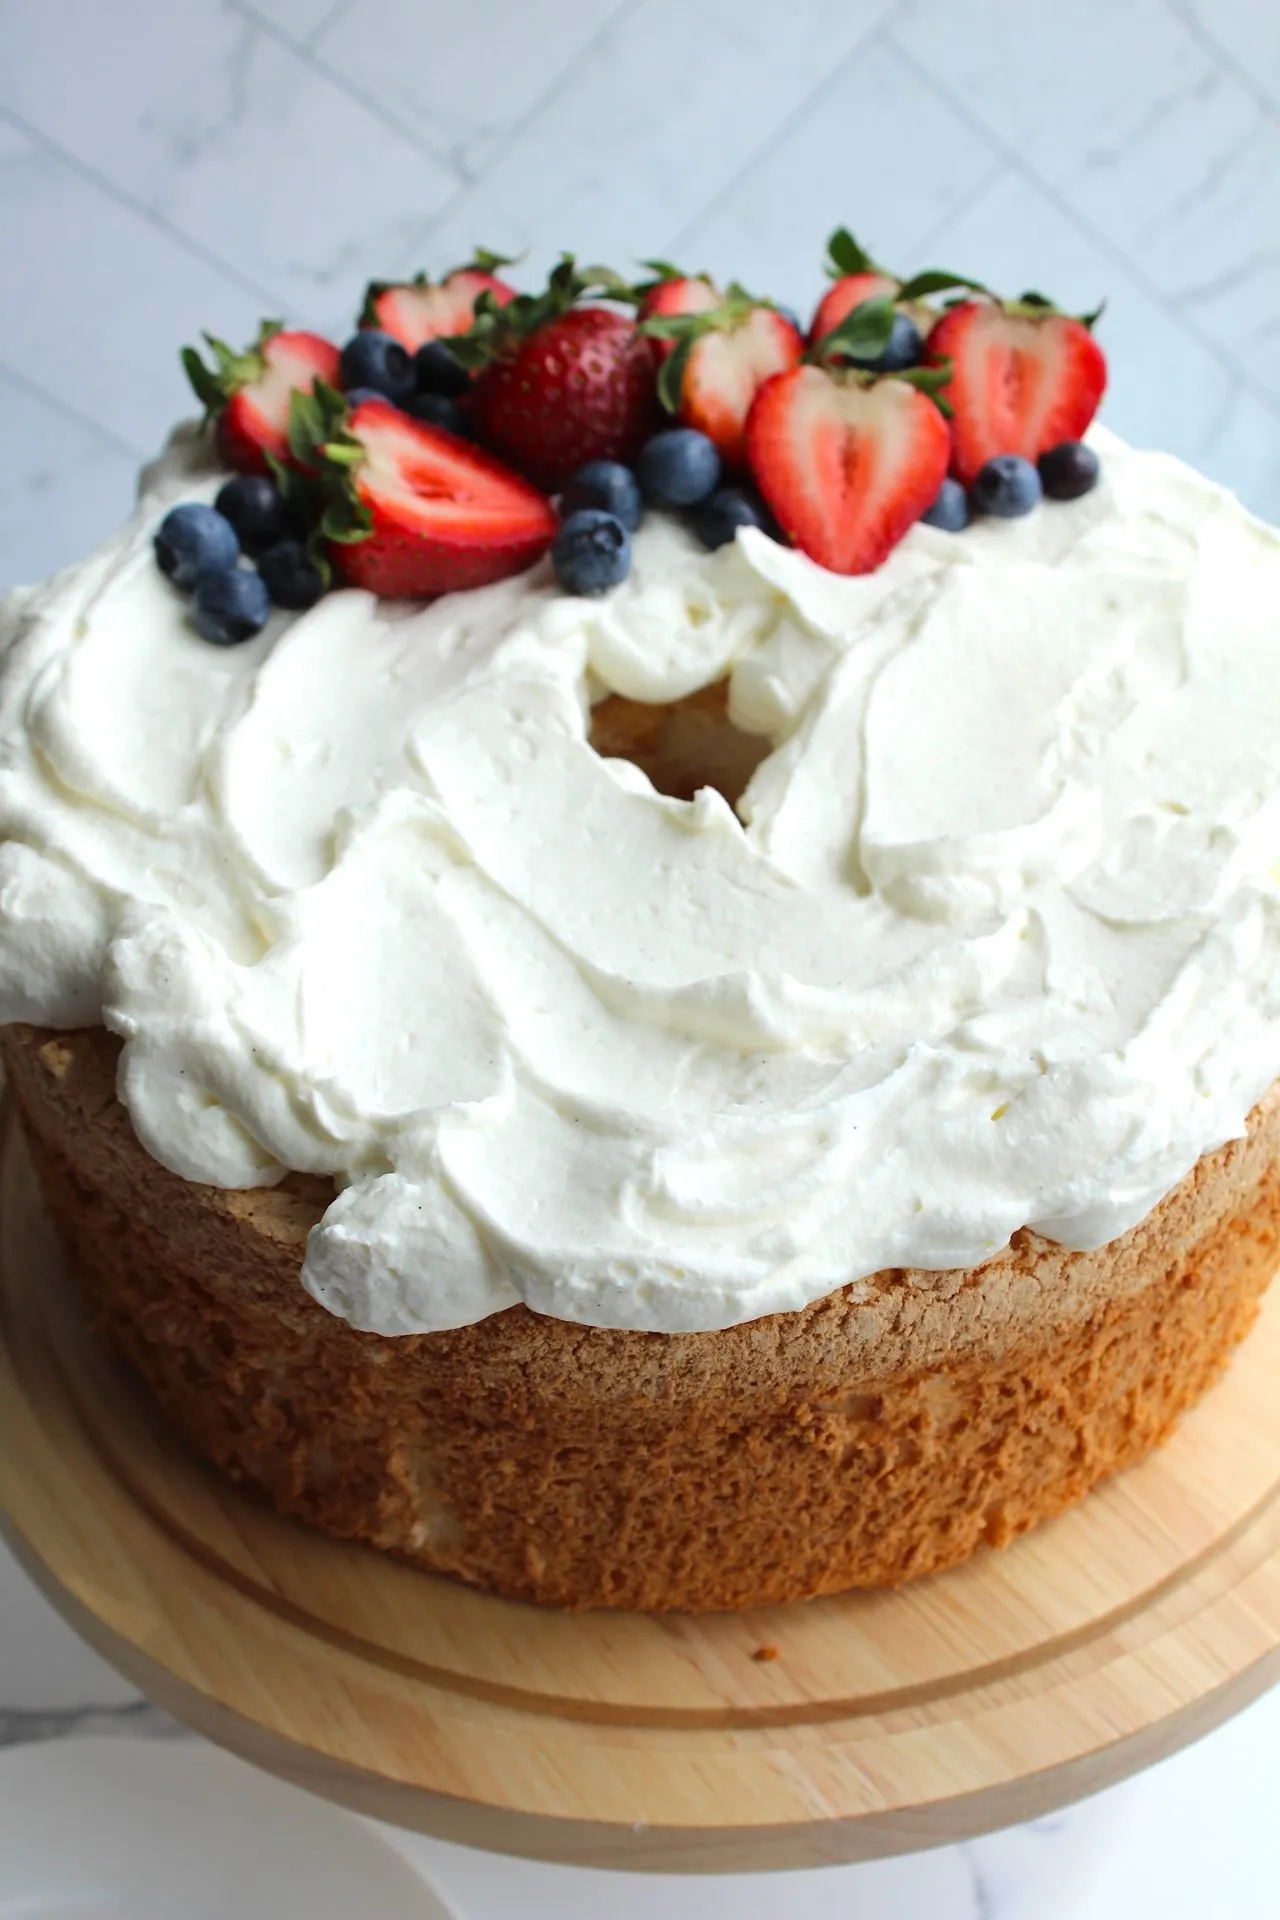
Angel Food Cake Recipe
Angel food cake is a classic dessert known for its light and airy texture. With a simple list of ingredients and a few key techniques, you can create a cake that is both delicious and visually stunning. In this blog, we’ll explore everything you need to know about making angel food cake, from its origins to expert tips for achieving the perfect texture.
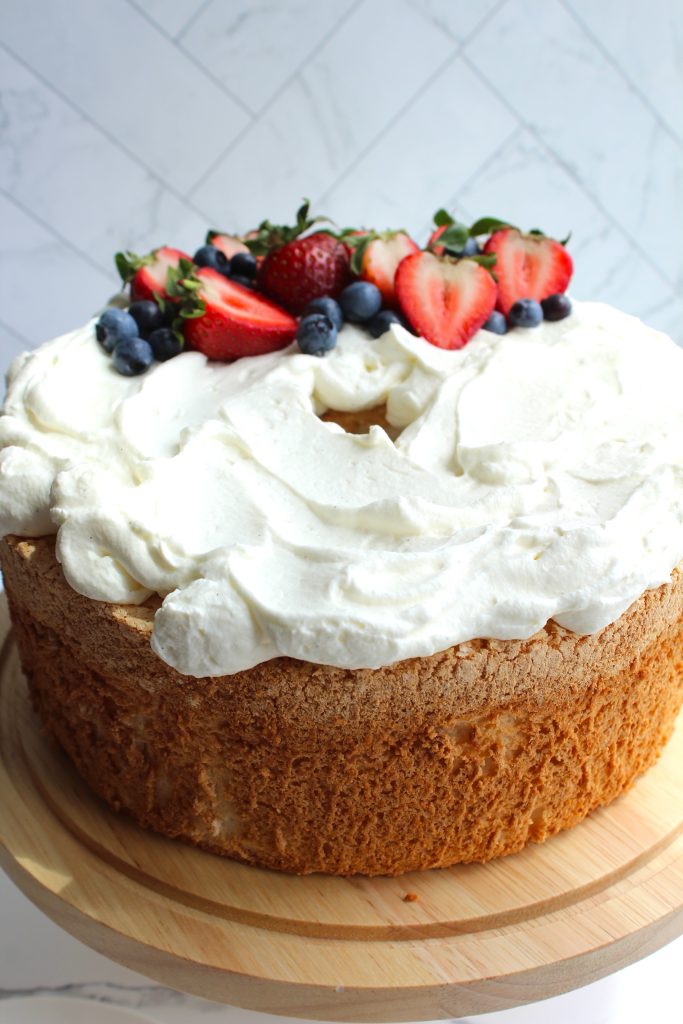
What Is Angel Food Cake?
Angel food cake is a type of sponge cake made primarily from egg whites, sugar, and flour. It is characterized by its light, airy texture, and mild sweetness. Unlike other cakes, angel food cake does not contain any fat, such as butter or oil, which contributes to its unique, fluffy structure. The cake is traditionally baked in a tube pan, which allows it to rise evenly and maintain its shape.
How Did Angel Food Cake Get Its Name?
The name “angel food cake” is believed to have originated from the cake’s light and fluffy texture, which is reminiscent of what food for angels might be like. The cake’s airy structure and delicate taste make it seem almost ethereal, hence the heavenly name. This dessert has been a favorite in American cuisine since the late 19th century and continues to be a popular choice for celebrations and gatherings.

How To Make A Light & Fluffy Angel Food Cake
- Preheat Your Oven: Start by preheating your oven to 325°F. It’s important to have the oven ready when your batter is finished to ensure the cake rises properly.
- Prepare the Sugar: In a food processor or blender, pulse the granulated sugar for about 1-2 minutes until it becomes super fine. This will help it incorporate more easily into the batter. Remove 1 cup of this sugar and set it aside. Keep the remaining sugar in the food processor.
- Combine Dry Ingredients: Add the cake flour and salt to the food processor with the remaining sugar. Pulse about 10 times until the mixture is light and well combined. Set this aside.
- Whip the Egg Whites: In the clean bowl of a stand mixer, add the egg whites and cream of tartar. Whip on medium speed until the mixture begins to look foamy. Gradually increase the speed and slowly add the 1 cup of sugar you set aside earlier. Continue to whip until the egg whites reach soft peaks, which should take about 6 minutes. Add the vanilla extract and mix just until incorporated.
- Fold in Dry Ingredients: Sift the dry ingredients into the whipped egg whites in 2-3 additions. Use a silicone spatula to fold everything together between each addition gently. Be careful not to overmix, as this can deflate the egg whites and result in a denser cake.
- Transfer to Pan: Gently pour the batter into an ungreased 10-inch tube pan. Use the silicone spatula to smooth the batter into the pan, ensuring it is evenly distributed. You can gently move the pan side to side to even out the top without deflating the batter.
- Bake: Bake the cake for 40-45 minutes, or until the top is golden brown and a toothpick inserted into the center comes out clean.
- Cool the Cake: Remove the cake from the oven and immediately invert the pan onto a cookie sheet. Allow the cake to cool completely upside down for about 3 hours. This helps prevent the cake from collapsing as it cools.
- Remove from Pan: Once the cake is cool, run a knife along the edges of the pan to loosen it. Gently tap the sides and bottom of the pan to help release the cake. Carefully remove the cake from the pan.
- Prepare the Whipped Cream: In the bowl of a stand mixer fitted with the whisk attachment, combine the heavy whipping cream, confectioners’ sugar, vanilla extract, and a dash of salt. Whisk until stiff peaks form.
- Assemble the Cake: Top the cooled angel food cake with whipped cream and fresh fruit, if desired. Serve immediately and enjoy!
Tips for Making the Best Angel Food Cake
- Use Room Temperature Egg Whites: Room temperature egg whites whip up more easily and achieve greater volume than cold egg whites.
- Avoid Greasing the Pan: An ungreased tube pan provides the necessary structure for the cake to climb and rise properly. Greasing the pan can cause the cake to slip and collapse.
- Sift Dry Ingredients: Sifting the cake flour and sugar helps to incorporate air into the batter and ensures a light, even texture.
- Fold Gently: When incorporating the dry ingredients into the egg whites, use a gentle folding motion to avoid deflating the batter.
- Cool Upside Down: Cooling the cake upside down prevents it from collapsing and helps maintain its airy structure.

Difference Between Stiff Peaks & Soft Peaks In Baking
Understanding the difference between stiff peaks and soft peaks is crucial for making angel food cake and other meringue-based desserts.
Soft Peaks
- Appearance: When you lift the whisk from the mixture, the peaks will be soft and will curl over.
- Texture: Soft peaks are achieved when the mixture is airy but not fully set. They are light and slightly droopy.
Stiff Peaks
- Appearance: Stiff peaks stand straight up when the whisk is lifted from the mixture. They do not droop or fold over.
- Texture: The mixture is firm and holds its shape well, providing the necessary structure for baked goods like angel food cake.
Achieving the Right Consistency
- For Angel Food Cake: You want to whip the egg whites to soft peaks before adding the sugar, and then continue whipping until you reach stiff peaks. This ensures the cake has enough structure to rise and maintain its airy texture.
How To Store Angel Food Cake
Angel food cake is unique due to its light, airy texture, which comes from whipped egg whites and a lack of fat. This delicate structure means it can easily dry out or become soggy if not stored correctly. By following the right storage methods, you can keep your cake moist and fluffy for longer.
Short-Term Storage (Up to 2 Days)
Room Temperature
- Cool Completely: Before storing, make sure the cake has cooled completely to room temperature. Storing a warm cake can create condensation, leading to a soggy texture.
- Cover with Plastic Wrap: Wrap the entire cake in plastic wrap to protect it from air and moisture. Ensure that the wrap is tight and seals all edges.
- Use an Airtight Container: Place the wrapped cake in an airtight container to provide an extra layer of protection against air and moisture. If you don’t have a container large enough, a cake dome or a large, clean, resealable plastic bag can work as well.
Storage Method
- Duration: Angel food cake stored at room temperature should be consumed within 1-2 days for optimal freshness.
- Placement: Keep the cake in a cool, dry place away from direct sunlight and heat sources.
Medium-Term Storage (Up to 1 Week)
Refrigerator
- Wrap Tightly: Wrap the cooled cake tightly in plastic wrap. You can also use aluminum foil for an additional layer of protection.
- Use an Airtight Container: Place the wrapped cake in an airtight container to prevent it from absorbing any odors from the refrigerator. This also helps maintain its moisture.
Storage Method
- Duration: Angel food cake stored in the refrigerator can stay fresh for up to 1 week.
- Placement: Place the container on a middle or lower shelf, where the temperature is more consistent.
Long-Term Storage (Up to 6 Months)
Freezer
- Slice Before Freezing: If you plan to store the cake for an extended period, consider slicing it into individual servings before freezing. This makes it easier to thaw and enjoy as needed.
- Wrap Each Slice: Wrap each slice (or the entire cake) tightly in plastic wrap, followed by a layer of aluminum foil. This double layer of wrapping helps prevent freezer burn.
- Use Freezer-Safe Bags or Containers: Place the wrapped slices or whole cake in freezer-safe resealable bags or airtight containers.
Storage Method
- Duration: Angel food cake can be stored in the freezer for up to 6 months without significant loss of quality.
- Thawing: To thaw, remove the desired number of slices (or the whole cake) from the freezer and let them sit at room temperature for about 1-2 hours. Alternatively, you can thaw the cake in the refrigerator overnight.
Angel Food Cake Recipe
Join my creative baking community! In depth courses, direct access to me, and more 🤎 Click here to join!
10-12
servings30
minutes40
minutesKeep the screen of your device on.
Ingredients
1 3/4 cups granulated sugar
1 1/4 cups cake flour
1/4 tsp. salt
12 egg whites, room temperature
1 1/2 tsp. cream of tartar
2 tsp. vanilla extract
- Whipped Cream Topping
2 cups heavy whipping cream
1/2 cup confectioners sugar
dash salt
2 tsp. vanilla
fresh fruit (optional)
Directions
- Preheat the oven to 325.
- In a food processor or a blender, pulse the sugar so that it becomes super fine. This should take about 1-2 minutes. Remove 1 cup of this sugar and set it aside. Keep the rest of the sugar in the food processor.
- Add the cake flour and salt to the food processor to pulse together the sugar, flour, and salt all together. Pulse about 10 times. The mixture should look and feel very light. Set aside.
- In the clean bowl of a stand mixer, whip your egg whites and cream of tartar on medium speed until it begins to look foamy. Gradually increase the speed and add the 1 cup of sugar that was set aside earlier to the egg whites as they mix. After about 6 minutes the egg whites should reach soft peaks. Add the vanilla extract then stop mixing and remove the bowl from the stand mixer.
- In 2-3 additions (I did 3) sift the dry ingredients into the soft peaked egg whites. In between additions use a silicone spatula to gently and slowly fold everything together. Mix until just combined between each addition. Overmixing or mixing too harsh and fast will deflate our egg whites and won’t result in a fluffy, soft angel food cake.
- Gently pour the batter into an ungreased 10″ tube pan. Use the silicone spatula to gently smooth the batter into the pan so it’s settled nicely. You can also gently move the pan side to side to even out the top to reduce the chance of deflating your batter.
- Bake for 40-45 minutes. Remove the cake from the oven. Place a cookie sheet over the top of the tube pan then flip the tube pan so that the cake and pan is facing downward. Do NOT remove the cake from the pan. Let this sit upside down for about 3 hours before removing.
- Make the whipped cream and slice your fruit in the meantime.
- Whipped Cream Topping
- In the bowl of a stand mixer fit with the whisk attachment, and whisk the cream, sugar, and vanilla, and salt until stiff peaks have formed and you have reached a whipped cream consistency. Set aside covered in the fridge until needed.
- After about 3 hours, run a butterknife along the sides of the pan then gently tap the sides and bottom of your tube pan repeatedly to help release the cake. Remove the pan. Top your angel food cake with whipped cream and fresh fruit.
- Enjoy!
Did you make this recipe?
I love seeing what you bake on socials! Just tag @thesqueakymixer


What if you don’t have a stand mixer?
Hi there! I would recommend using an electric hand held mixer in this case. If you don’t have an electric hand held mixer you can whip the egg whites to soft peaks by hand but it will take some time and muscle!!