

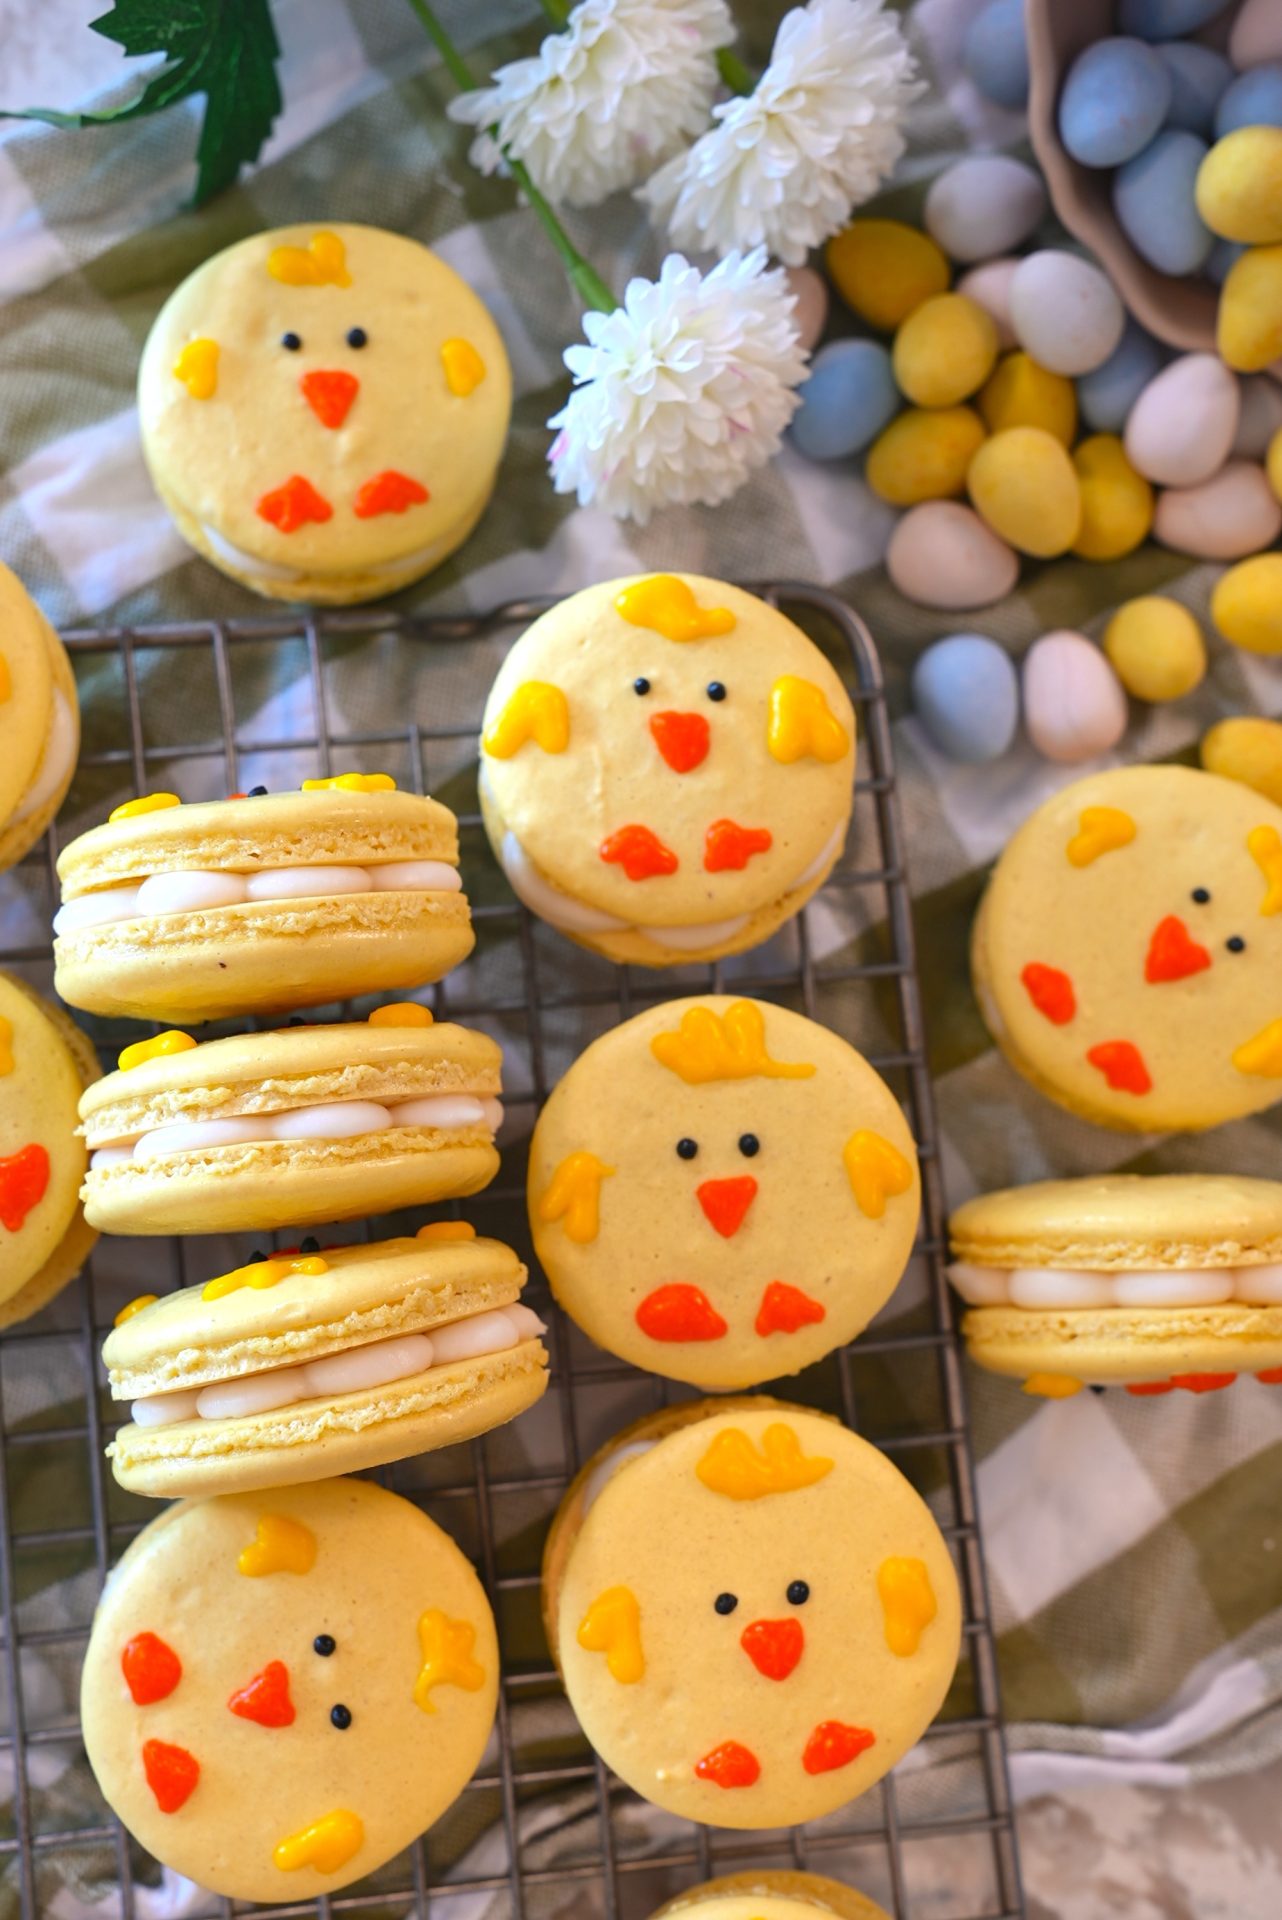
Easter Chick Macarons
If I’m being honest, making macarons used to feel so intimidating. While there are various ways macarons can go wrong, I find that this recipe is just about as foolproof as it gets. It’s a recipe that I tinkered with when developing my recipe for The Easiest French Macarons, and she’s never let me down!! With Easter around the corner, I wanted to get creative with the design, and I’m so happy with how these little chick macarons turned out. Whatever your plans are for Easter this year, I hope these Chick Macarons make it to your dessert table :)
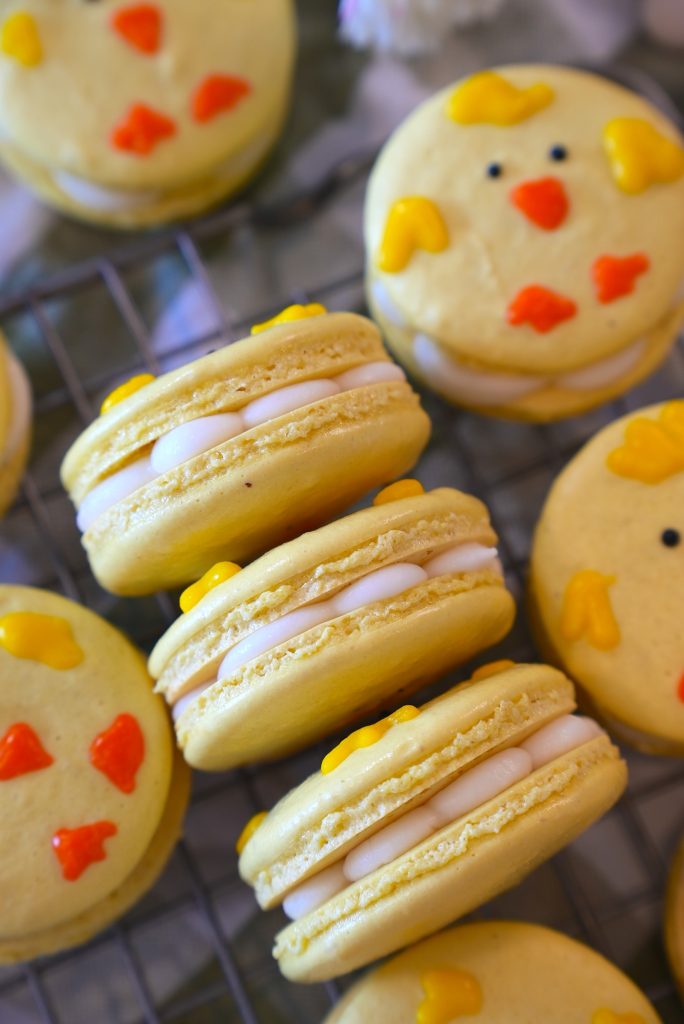
I’m going to walk you through every step of this recipe so that you are left with the chewiest macarons with a crisp outershell and beautiful ruffled feet.
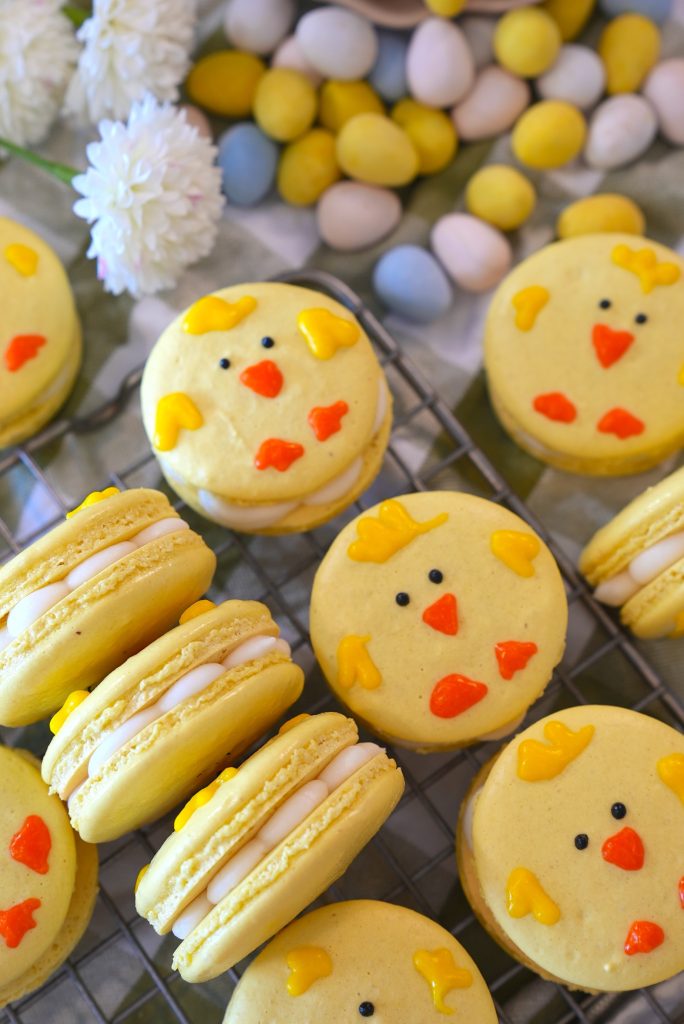
How to Make Easter Chick Macarons
As I mentioned earlier, I know firsthand how intimidating making macarons can feel, especially for the first time! I think I was in high school when I made macarons for the first time. All I can remember was cracked tops and no feet…and maybe some tears. Thankfully, lots of time spent in the kitchen has passed, and I’ve learned as much as I can when it comes to making macarons and can now share that knowledge with all of you :)
Let’s break down the steps to making these Chick Macarons before diving into the full recipe
Cute Easter Chick Macarons (Step-by-Step Recipe)
- In a food processor, pulse the almond flour and confectioner’s sugar together (this just ensures that the mixture is super fine and smooth which makes it so mcuh easier to sift later on too!
- Sift the mixture through a fine sieve into a bowl to remove any large pieces. Set aside.
- In a separate large bowl, beat the egg whites
- Once the egg whites begin looking foamy, gradually add the salt and granulated sugar
- When the egg whites become white, fluffy, and glossy, add the vanilla extract and a small drop of yellow gel food coloring.
- Continue whipping until stiff peaks form.
- Add the almond flour mixture to the egg whites in about three additions, gently folding with a silicone spatula after each addition.

- Continue folding until the batter forms thick ribbons when lifted with the spatula.
- Transfer the batter to a piping bag fitted with a large round tip.
- Pipe a small dot of batter in the corners of a baking sheet and press parchment paper on top to hold it in place.
- Pipe 1½-inch circles, spacing them at least 2 inches apart.
- Tap the baking sheet on the counter 5–10 times to release air bubbles.
- Let the macarons rest for 45–60 minutes until the tops feel dry when touched.
- Preheat the oven to 300°F.
- Bake one sheet at a time for 10-15 minutes, until the macarons develop their signature “feet.”
- Allow the shells to cool completely before filling!
What Food Coloring Works Best for Yellow Macarons
I always recommend using a high-quality food dye for baking, especially when you want beautiful, vivid colors without the baked good tasting like chemicals. I use Americolor Food Gel for pretty much all of my baked goods that require it. I love that just a little bit of dye goes a long way, so you’re not adding a lot.
Tips for Perfect Macaron Shells Every Time
There are a few different ways to ensure that you get the perfect Macaron shells every time you make them, and we’re going to go over each one. I promise you that this recipe is so approachable, and I truly believe that anyone is capable of having the most success. So let’s break it down, shall we?!
- Use finely ground almond flour.
- If the almond flour is too coarse, your shells may look bumpy instead of smooth. The food processor will also help if your almond flour is too course so don’t worry!
- Always sift the dry ingredients.
- Sifting removes lumps and helps create delicate, smooth macaron tops.
- Whip egg whites to stiff peaks.
- The meringue should hold its shape firmly when the whisk is lifted.
- Fold the batter gently.
- Overmixing can cause flat macarons, while undermixing can lead to cracked tops.
- Let the shells rest before baking.
- Resting creates a thin skin on top of the macarons, which helps them develop their signature “feet.”
- Bake one tray at a time.
- This allows for more even heat distribution and consistent baking.
Troubleshooting French Macarons
In case you’re having issues with making macarons from scratch or have run into disasters before, let’s go over some of the most common reasons why your macarons might not be coming out perfectly.
- Cracked tops
- Usually caused by not resting the macarons long enough before baking.
- No feet on the shells
- Often due to undermixed batter or an oven temperature that is too low.
- Hollow macarons
- This can happen if the meringue was overwhipped or if the macarons were slightly underbaked.
- Flat macarons
- The batter may have been overmixed during the folding stage.
How To Store French Macarons
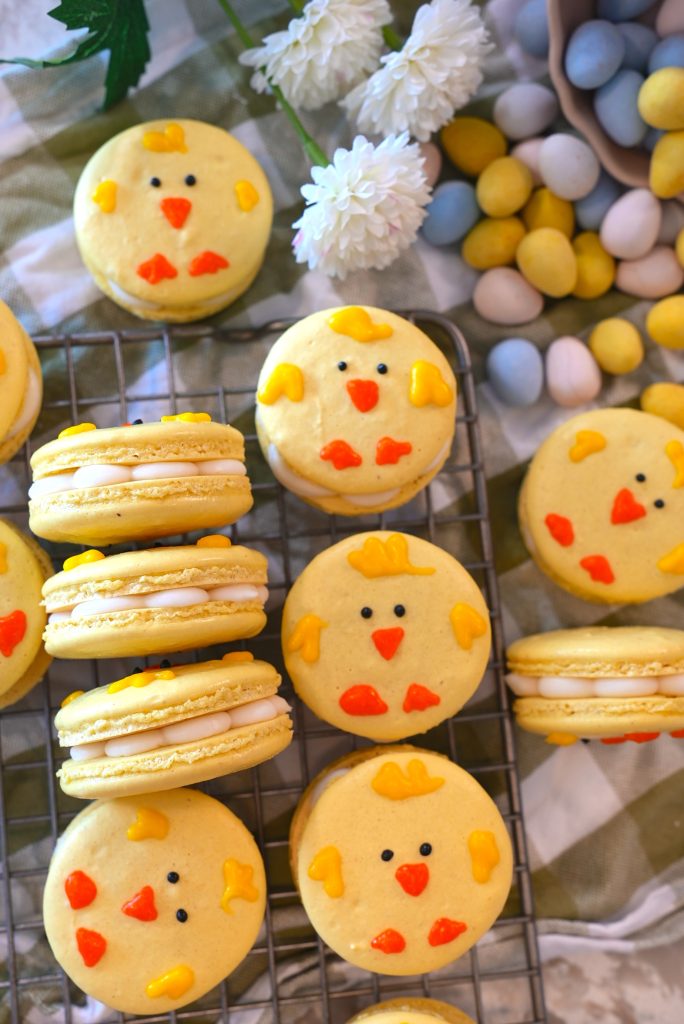
Since these macarons are filled with buttercream and have detailed faces we want to store them properly so that they remain fresh and don’t smudge!
- Refrigerator:
- Store filled macarons in an airtight container in the refrigerator for 3–5 days.
- Freezer:
- Macaron shells or fully assembled macarons can be frozen for up to 2 months.
- Serving tip:
- Let refrigerated macarons sit at room temperature for 20–30 minutes before serving so the filling softens and the texture becomes perfectly chewy.
Easter Chick Macarons
Join my creative baking community! In depth courses, direct access to me, and more 🤎 Click here to join!
15-18
servings30
minutes10
minutesKeep the screen of your device on.
Ingredients
1 1/4 cups Almond flour
1 3/4 cups Confectioner’s sugar
1/4 tsp. Salt
3 Egg whites, room temperature
1/3 cup Granulated sugar
1 tsp. Vanilla extract
1 small drop yellow gel food coloring
- Vanilla Buttercream
1/2 cup Unsalted butter, room temperature
2 1/2 cups Confectioner’s sugar
2-3 Heavy whipping cream
2 tsp. Vanilla extract
1/4 tsp. salt
1/4 cup store-bought caramel (optional)
Directions
- In a food processor, grind together the almond flour and confectioner’s sugar. Pulse 5-10 times or until fine and evenly incorporated.
- Sift the almond flour and confectioner’s sugar mixture through a sieve into a medium-sized bowl. Set aside.
- In a separate large bowl, whip the three egg whites on high speed using an electric mixer. As soon as the mixture starts to look foamy, gradually add the salt, then the granulated sugar.
- As the egg white mixture goes from foamy to white and fluffy, add in the vanilla and gel food coloring. Mix just until stiff peaks form.
- In three additions, add the dry ingredients (the almond flour and confectioner’s sugar mixture) to the egg white mixture. Use a silicone spatula for this step. Gently fold everything together – we want the egg whites to stay stiff to keep the batter thick enough for piping. Gently fold after each addition. Adding three additions will ensure that everything is being incorporated evenly.
- Mix just until the batter is evenly combined, and the mixture forms thick ribbons when the spatula is lifted.
- Transfer the batter to a piping bag fitted with a large round tip (you don’t NEED a metal tip, it just helps).
- Pipe a small dot of macaron batter in the corner of a standard 13″ x 9″ cookie sheet, then place a sheet of parchment paper on top. These small dots of batter will help keep the parchment paper in place when piping the actual macarons.
- Hold the piping bag about 1/2″ above the cookie sheet and gently squeeze to make about 1 1/2″ sized circles roughly 3-4″ in diameter. Pipe the macarons at least 2″ apart from each other.
- Once you’ve finished piping each macaron, bang the cookie sheet 5-10 times to release any air bubbles in the macarons.
- Allow the piped macarons to sit out for at least 45 minutes or up to one hour. The top of the macarons should be dry when gently tapping on the top before baking.
- Preheat the oven to 300 degrees F. and bake one sheet at a time. Bake for 10-15 minutes or until the macarons have developed nice feet. Use the images as a reference for what good feet should look like on macarons.
- The macarons should easily pop right off the parchment paper. Allow them to finish cooling on a wire rack before filling.
- Vanilla Buttercream
- Using an electric mixer, beat the butter on low speed until light and creamy.
- Add the confectioner’s sugar to the butter and continue to combine.
- Gradually add in the heavy cream until the buttercream reaches a smooth consistency.
- Add in the vanilla and salt. Mix the buttercream until there are no lumps and the mixture is nice and smooth.
- Transfer the buttercream to a piping bag. Place about 1/2 cup of the buttercream aside to dye yellow, orange, and black for the chick’s face details. Place each of these colors into piping bags.
- Starting on the outside of a fully cooled macaron, gently pipe buttercream around the perimeter of the macaron, working your way inward. I left a small center unfilled so that I could pipe a small amount of caramel in the center.
- Pipe the chick’s face details on top of half of the macarons.
- Top the filled macarons with a chick face macaron facing upright. Repeat for each one until they’re all assembled.
- Enjoy!
Did you make this recipe?
I love seeing what you bake on socials! Just tag @thesqueakymixer


